


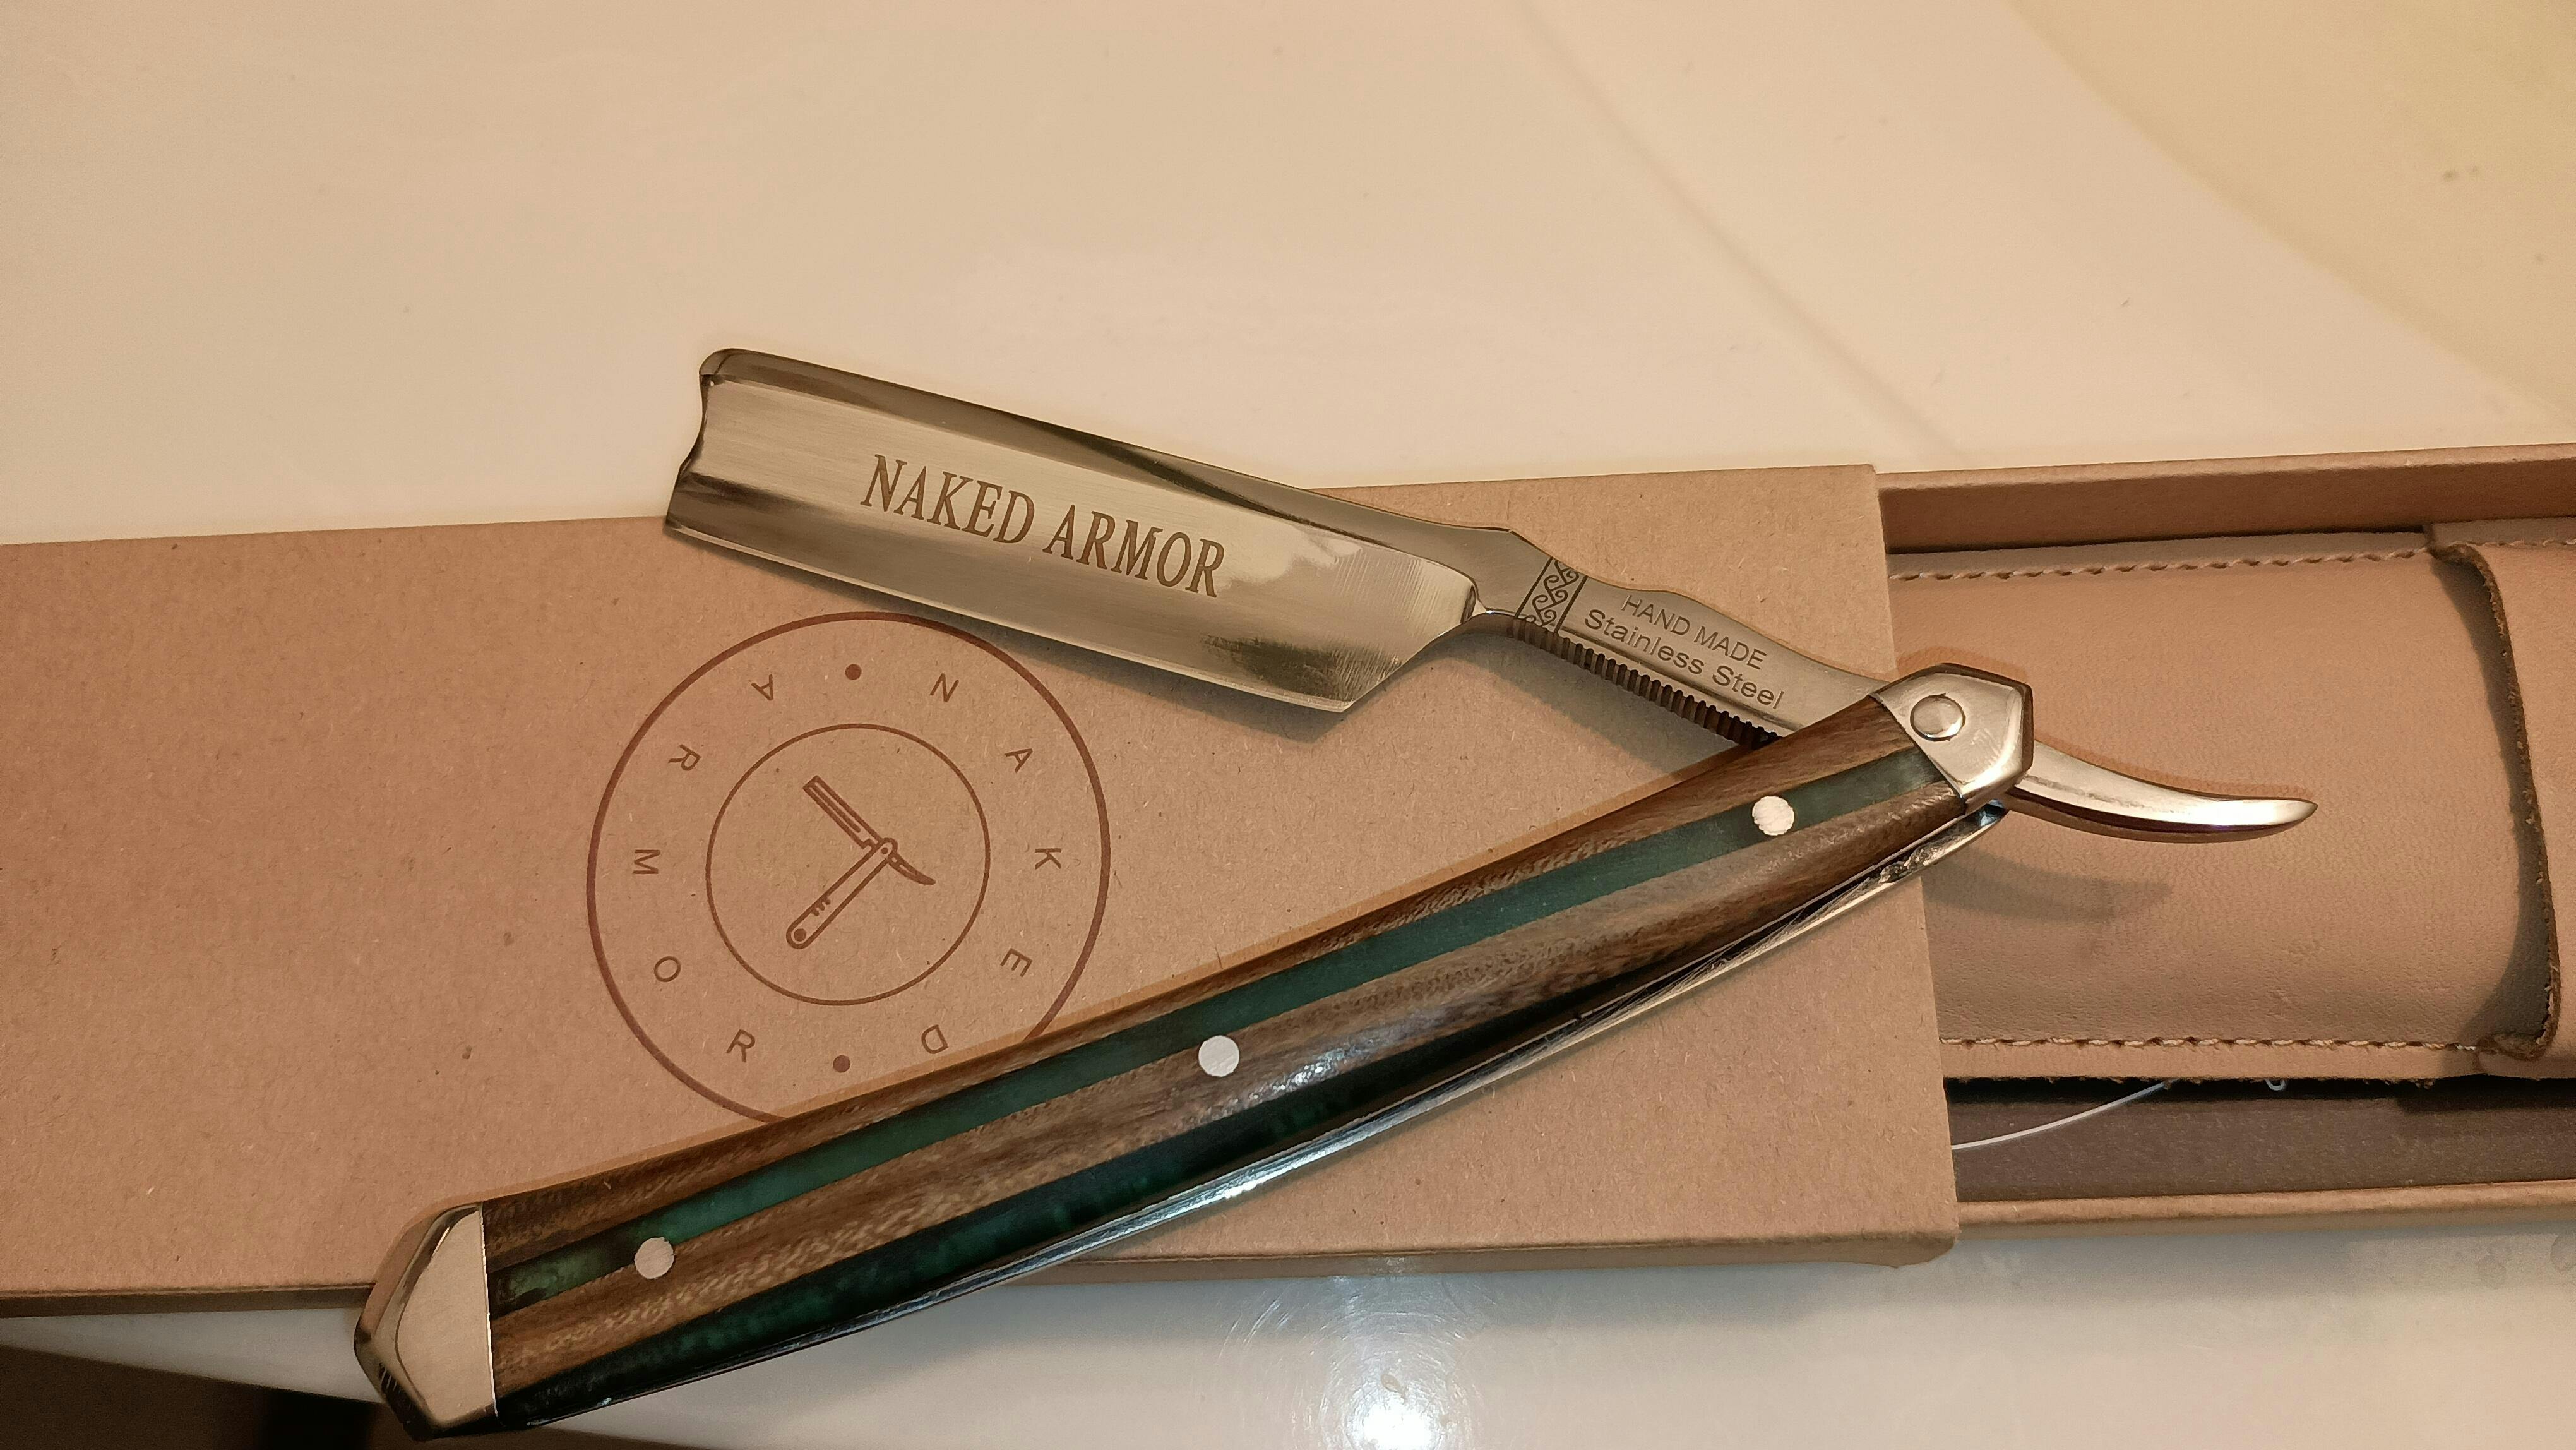
How To Sharpen A Straight Razor By Honing & Stropping

Straight razor shaving is the most practical solution to the increasing costs of men’s grooming and to combat modern shaving’s risk to the environment. Its blade can replace a lifetime’s worth of disposable blades only if you know how to sharpen a straight razor properly.
Due to the quality of materials, effort, and craftsmanship put into creating a straight razor, there is no doubt that it can last a lifetime. But it is inevitable for the blade to wear out because of constant use.
Eventually, you will have to sharpen the blade and learn how to sharpen a straight razor yourself to guarantee that your straight razor blade is always shave-ready.
In this article:
- Straight Razor Sharpening
- Sharpness Tests for Straight Razors
- Different Ways to Sharpen a Straight Razor
- How to Sharpen a Straight Razor with a Strop
- Sharpening a Straight Razor with a Honing Stone
- When Do You Use Chromium Oxide?
- How Often Should You Sharpen Your Straight Razor
- Why Do You Need to Sharpen Your Straight Razor
- The Ultimate Straight Razor Sharpening Tools
Straight Razor Sharpening
Making sure that your razor is sharp enough before shaving is the key to having a smooth and nick-free shave. Dull blades tend to drag harder on the skin and pull the hair tight while shaving. This results in common post-shave irritations.
Here is an overview on how to sharpen a straight razor:
- Do a sharpness test to determine the dullness of your blade.
- Determine if you need to hone or strop your straight razor.
- Prepare your strop and start stropping.
- Use a honing stone to set the bevel and refine the edge.
- Apply chromium oxide as needed.
Continue reading for more in-depth instructions on each step.
Sharpness Tests for Straight Razors
The best difference between a modern razor from a straight razor is that today’s razors have easily replaceable blades.
Safety razors and cartridge razors have blades you can ditch after five to ten shaves.1 Meanwhile, traditional straight-edge razors do not have disposable blades. You only need to resharpen the full metal blade now and then.
When Should You Sharpen Your Razor?
A straight razor needs sharpening when the blade starts to pull or tug on the hair as you start shaving and when it slices through a plucked hair. If unsure, do the steps2 below to determine if a straight razor needs sharpening or not:
- Arm hair test
Simply shave the hair from a small section of your arm using your straight razor. You know the bevel is set if you can cut the hair without directly touching your skin.
- Hanging hair test
The hanging hair test is one of the most common ways to test your straight razor. All you need to do is bring a strand of hair to the edge of your blade. If it does not cut the hair, your razor needs some serious sharpening.
- Cherry tomato test
Slice a tomato using your straight razor. Your straight razor is sharp enough if it does not cut through the skin. However, when doing this test, remember to use your blade at a 30° angle since a 90° angle will give you a clean cut with less effort.
- Thumb pad test
Wet your thumb and glide your blade over. Your straight razor is dull if it does not tickle you even a bit. Be careful when doing this test, and do not apply too much pressure to avoid cutting yourself.
- Fingernail test
Similar to a thumb pad test, do the same process on your fingernail. If the razor glides cleanly with a slight mark, your razor is still sharp. Otherwise, use your honing stone to sharpen it more.
Experts do not recommend using the thumb pad and fingernail test for beginners. If you are new to using straight razors, you may not have mastered the proper grip, increasing your chances of cutting yourself.
Simply put, it is time to get your sharpening tools if you notice it is getting harder to glide your blade smoothly while shaving. Do not ignore the signs of dullness as you may forget and only remember when you hurt yourself through a cut or a nick.
Different Ways to Sharpen a Straight Razor
To know how to sharpen a straight razor blade, you need to learn two major blade maintenance techniques first. The different ways to sharpen a straight razor by hand is through stropping and honing, wherein stropping results in edge “alignment” and honing in edge “refinement.”
-
Stropping

Stropping is regular blade maintenance that all straight razor users must do before shaving. It re-aligns uneven microscopic chips and breaks on the edge of a straight razor using a leather strop. The metal warms up as it glides on the leather’s aggressive surface, aligning its cutting edge and smoothing out any dullness that may cause tugging.

Honing is refining the dull edges of a blade with an abrasive whetstone.
On the other hand, honing is a refinement process done every two to three months or when the straight razor blade already has major, visible damages. The blade passes through a honing stone with different grit (aggressiveness) levels that can give a glass-like finish and cutthroat edge to the blade.
The main difference between stropping and honing is that stropping is a must-do before every shave to prevent major cracks and damage to your blade. Meanwhile, honing fixes damages and edge breakage that a strop can no longer fix while refining the blade for a better and sharper finish.
Straight Razor Sharpening Tools
There is no need to have fancy and heavy-duty gears for sharpening straight razor blades. Traditional razor owners can sharpen straight razors by hand using only three tools—leather strop, chromium oxide, and a honing stone.
- Strop
A strop is simply a piece of leather with an aggressive surface,3 and it usually comes with an opposite canvas side and metal handles. The leather is for sharpening the blade, and the canvas is for cleaning the blade after stropping.
- Sharpening Paste
Chromium oxide is a sharpening paste that is applied on a worn-out strop.4 Due to constant stropping, the surface could get less aggressive or damaged. The paste will help smoothen and add more grit to the strop. However, do not use it on strops in good condition as it may affect the quality of the sharpening tool.
- Honing Stone
A honing stone is a whetstone or water stone for sharpening straight razor blades.5 These are often natural stones with different abrasiveness levels, measured by grit. The abrasive surface sharpens the straight razor blade by putting its edge back into alignment or giving it a mirror-like polish.
Do note that the number of strops and sharpening stones needed for razor blade maintenance could increase as you progress in sharpening straight razors. A 1,000-grit stone is the best beginning range for new straight razors.6
How to Sharpen a Straight Razor with a Strop

Sharpening a straight razor blade starts with stropping the edge straight out of the box, especially if the blade does not pass your sharpness test.
Most straight razors are not ‘shave-ready’ upon purchase.7 Without a doubt, they are sharp. But is the razor sharp enough to cut through hair with ease? Not exactly.
For that reason, expert shavers recommend using a leather razor strop before using your straight razor. This process is necessary, especially if the manufacturer did not disclose whether the straight razor is ready for shaving or not.
A leather strop is commonly from a soft, flexible strip of leather used to remove crud off the razor blade.
Here is how to strop a straight razor blade:
- Set up the strop by holding it flatly and firmly, without being too tight.
- Place the blade of your razor flat on the strop with its edge and spine firmly pressed on the strop.
- Start stropping by pushing the razor with minimal pressure away from you, keeping the spine and edge firmly pressed on the strop; repeat for 15 to 20 laps.
- Flip the blade and strop it towards you, following the same technique in Step 3.
- After the last lap, flip the blade before it reaches the edge of your strop; repeat for 15 to 20 laps.
- Do not roll the edge of your razor.
Preparation
A good quality leather strop, such as Naked Armor’s Blue Eel Razor Strop, is necessary before you begin the stropping process. Its leather, thick canvas, and connectivity brass guarantee safe stropping for your razor and you.
When you already own a leather strop, the next step is to learn the proper way to handle the strop and your razor. The best way to strop is by drawing the blade away from the cutting edge, preventing it from digging into the leather. Have a consistent grip and bevel, as raising and lowering your angle will destroy the blade’s edge.
Stropping
To begin stropping, use one of the hooks on the strop to hang it on a drawer. Then hold the handle at the bottom using your left hand, pulling tight. Grab your razor by its handle and lay it flat along the farthest end of the strop.
Keep your strokes slow and even, using only the weight of the razor.8 Draw the blade towards you with its edge facing away. To draw it away from you, rotate the side of the blade and have the edge pointing to you. Begin with 15-20 strokes, and continue more if it is not sharp enough to your liking.
You will know that you are doing it right when black marks appear on your leather. These are the metal that came off from the blade onto your strop.
Aside from that, below are some expert reminders from us here at Naked Armor:
-
Your leather strop should be at least a foot long to avoid cutting yourself and damaging your blade. A strop that is too long is harder to control. Meanwhile, shorter strops require constantly repositioning your razor, leading to uneven sharpening.
-
If you use Naked Armor’s leather strop, do not strop on the rough leather bottom. Instead, always strop on the leather surface at the very top of the strop. The blue section is for cleaning the edge lightly before you begin stropping.
You can watch the video below to properly understand how to use a leather strop.
Sharpening a Straight Razor with a Honing Stone
Stropping is excellent for sharpening straight razors that have not yet seen maximum damage. It is perfect for preventing big chips on the edge. However, if you happen to use your razor for a long time without using a strop, chances are it already bears severe damage.
A leather strop can no longer help you when your straight razor becomes incredibly dull. It is better to hand it over to the professionals to save yourself some time and money and hone it at home.
Honing reshapes the edge of your blade to reach an ideal sharpness. You will need a honing stone with an abrasive surface that can remove enough material from your blade, giving it a better edge.
What Grit is Best for Sharpening Straight Razors?
The abrasiveness of your honing stone will literally make or break your straight razor’s edge. That is why knowing the ideal grit for sharpening a straight razor blade is crucial. Here are the different grits of a honing stone and how it affects your blade:
- 400-grit
Very rigid and can remove metal fast without too many scratches—best for refining damages on hard-bladed straight razors.
- 1,000-grit
Great for achieving factory-quality sharpness. We recommend it for fixing minor dullness and giving your straight razors a frosted look.
- 3,000 to 5,000-grit
It is the ideal grit to use for honing a straight razor. Its slow rate of sharpening gives you more control, reducing the area for mistakes and damages while giving you an extremely sharp edge.
- 8,000-grit
This grit provides a near-perfect edge for blades. You can use this if you want an almost mirror finish to your straight razor. However, it is most effective for honing razors that are not too dull and only have minor scratches.
- 10,000 to 12,000-grit
These are finishing stones that have the slowest sharpening rate but give your blade a mirror finish. Best used for finishing touches and not to sharpen straight razors that have too much damage.
How to Hone a Straight Razor

Not everyone is familiar with the honing process. Even some straight razor enthusiasts do not find the need to learn about the specifics of honing9 since they know how to take care of their razors with a strop properly.
Honing, like using a straight razor, requires different expertise. You cannot simply drag your blade on some stone and call it a day. Besides, stones are not the only honing tools available. Using wet sandpaper with a grit level of 400 and a lapping film to hone your straight razor is also possible. However, even if they are convenient, they are not cost-efficient and not ecological.
As mentioned before, the best tool for honing a straight razor is a honing stone. Its abrasive surface will give you the best result to bring back life to your straight razor.
Below is how to use a straight razor honing stone:
-
Preparation
Create an even surface by running your blade’s edge onto the glass first. Get the abrasive you want to use for honing to start the bevel setting process. If you wish to use a honing stone, start with 800 to 1,000-grit, then progress towards higher grits as needed.
-
Setting the bevel
As you hone, the metal on both sides of your straight razor’s blade concaves progressively. This section is what we call a bevel.
Bevel setting is the main step in the honing process. It takes 75% of the whole process to determine how successful you will be. This step requires slow and even strokes to avoid an uneven bevel.
While setting the bevel of your straight razor, it is necessary to keep your abrasive lubricated with water to help the razor glide over smoothly and avoid damage to the blade. Pass it over for about 50 laps, then do one of the tests mentioned above to check your progress.
-
Sharpening the edge
After setting the bevel, the next thing to do is to sharpen the edge of your straight razor. To do so, apply slow, light, and even strokes on a stone with a grit level of 4,000 to 8,000 using the edge of your blade. Do at least 25 to 30 laps and do one of the tests above to check if your razor is sharp enough to use.
-
Polishing and finishing
The final steps in the honing process are polishing and finishing, giving your straight razors a shiny facade. You will need the abrasive with the highest grit available to do this.
Remember the grit levels mentioned above? You can use an 8,000-grit stone for a near-mirror finish or a 10,000 to 12,000-grit stone to achieve an extremely reflective finish. Either way, take your time to avoid damaging your blade.
Whether you are trying to fix a major chip on your blade, trying to revive a dull razor, or wanting to have a better finish to your straight razor, the key to having a perfectly honed and sharpened razor is to be patient with the process and exert only even pressure as you stroke.
When Do You Use Chromium Oxide?

Aside from stropping and honing, you can add chromium oxide to your razor-sharpening routine. This step is best done after the honing process and is similar to the polishing and finishing section but using your strop, giving the leather a finer grit.
Chromium Oxide (CrOx) is the most common honing compound people use as a sharpening paste, mostly on leather strops. It is a green material often in wax or paste form that you apply on your abrasive surface.
Using a sharpening paste can make any honing surface smooth since it has a grit level that can reach down to 0.3 grit. Here is a guide on how to sharpen a straight razor using the sharpening paste, Chromium Oxide:
- Clean the surface of your leather strop with isopropyl alcohol, then rub sandpaper over it.
- Apply a small amount of paste to the strop
- Spread the paste using your fingers for an even application
- Warm the back of the strop just enough to melt the paste
- Blend in the paste by rubbing a paper towel back and forth
- Glide your fingertip over the pasted area. It should glide smoothly without a sticky feeling.
Applying a sharpening paste to your strop is the final step in the sharpening process. It is great to use when you genuinely want to achieve a mirror finish and have an extremely refined edge for your straight razor.
How Often Should You Sharpen Your Straight Razor?
To keep your straight razor shave-ready, you should sharpen your blades using a strop before every shave and hone it every 3-6 months10 as maintenance and preventive measure against major damages.
However, if your straight razor is already obviously dull and faulty, it is best to hone it as soon as you can. Further stropping and using it on your face to cut your beard will only lead to more damage and injure you inevitably.
Why Do You Need to Sharpen a Straight Razor?
 Neglecting a dull blade can cause severe post-shave skin irritations, like razor burn and bumps.
“No one, no matter how brave, would take a dull sword into battle,” as per Sun Tzu’s The Art of War. The same goes for razors.
Straight razors with unsharpened edges defeat their purpose. Instead, using them can lead to painful shaving and skin cuts. Of course, we do not want that, do we?
That said, why exactly do you need to sharpen your straight razor?
- For a cleaner and safer shave
The damage on your blade's surface is why your straight razor pulls while cutting the hair. It is also why you experience a painful shave because the nicks can actually pierce through your skin, leaving you with bumps and ingrown hairs.
The minor cuts on your skin can get irritated and infected. This will result in bigger skin problems, like razor burn and bumps you do not want or wish to have. Not only will it be painful, but it will also ruin the health of your skin, giving you lower self-confidence.
Sharpening your straight razors is the best solution to prevent an uncomfortable shaving experience. Doing so removes the nicks and other damaged areas on the blade, producing a smoother and finer edge. Also, having a well-taken-care-of razor will let you achieve the primary goal of giving yourself a clean shave without bumps and cuts.
- Quality maintenance
Straight razors can last for a lifetime and through multiple generations. But that is only true if you put effort into keeping its quality. Using the proper sharpening techniques will guarantee that your straight razor will withhold its prime condition even after multiple usages.
How does sharpening aid in the upkeep of a straight razor? Simply by straightening, reshaping, and refining the edge of the blade.
Steel may be 50 times harder than hair. However, cutting hair at different angles for a prolonged period results in micro-abrasions on the blade’s surface11. Of course, you cannot just shave your hair by positioning your straight razor perpendicular to your skin. After all, hair grows in different angles.
Not to mention, blades have hard and soft parts. Although steel is a solid material, there are areas where it gets brittle. And shaving imposes additional pressure leading to these areas cracking, therefore chipping off the edge of your blade.
Simply put, chips and nicks are inevitable. Sharpening a straight razor helps maintain its quality by ensuring that the small abrasions do not lead to major damage, destroying your blade completely.
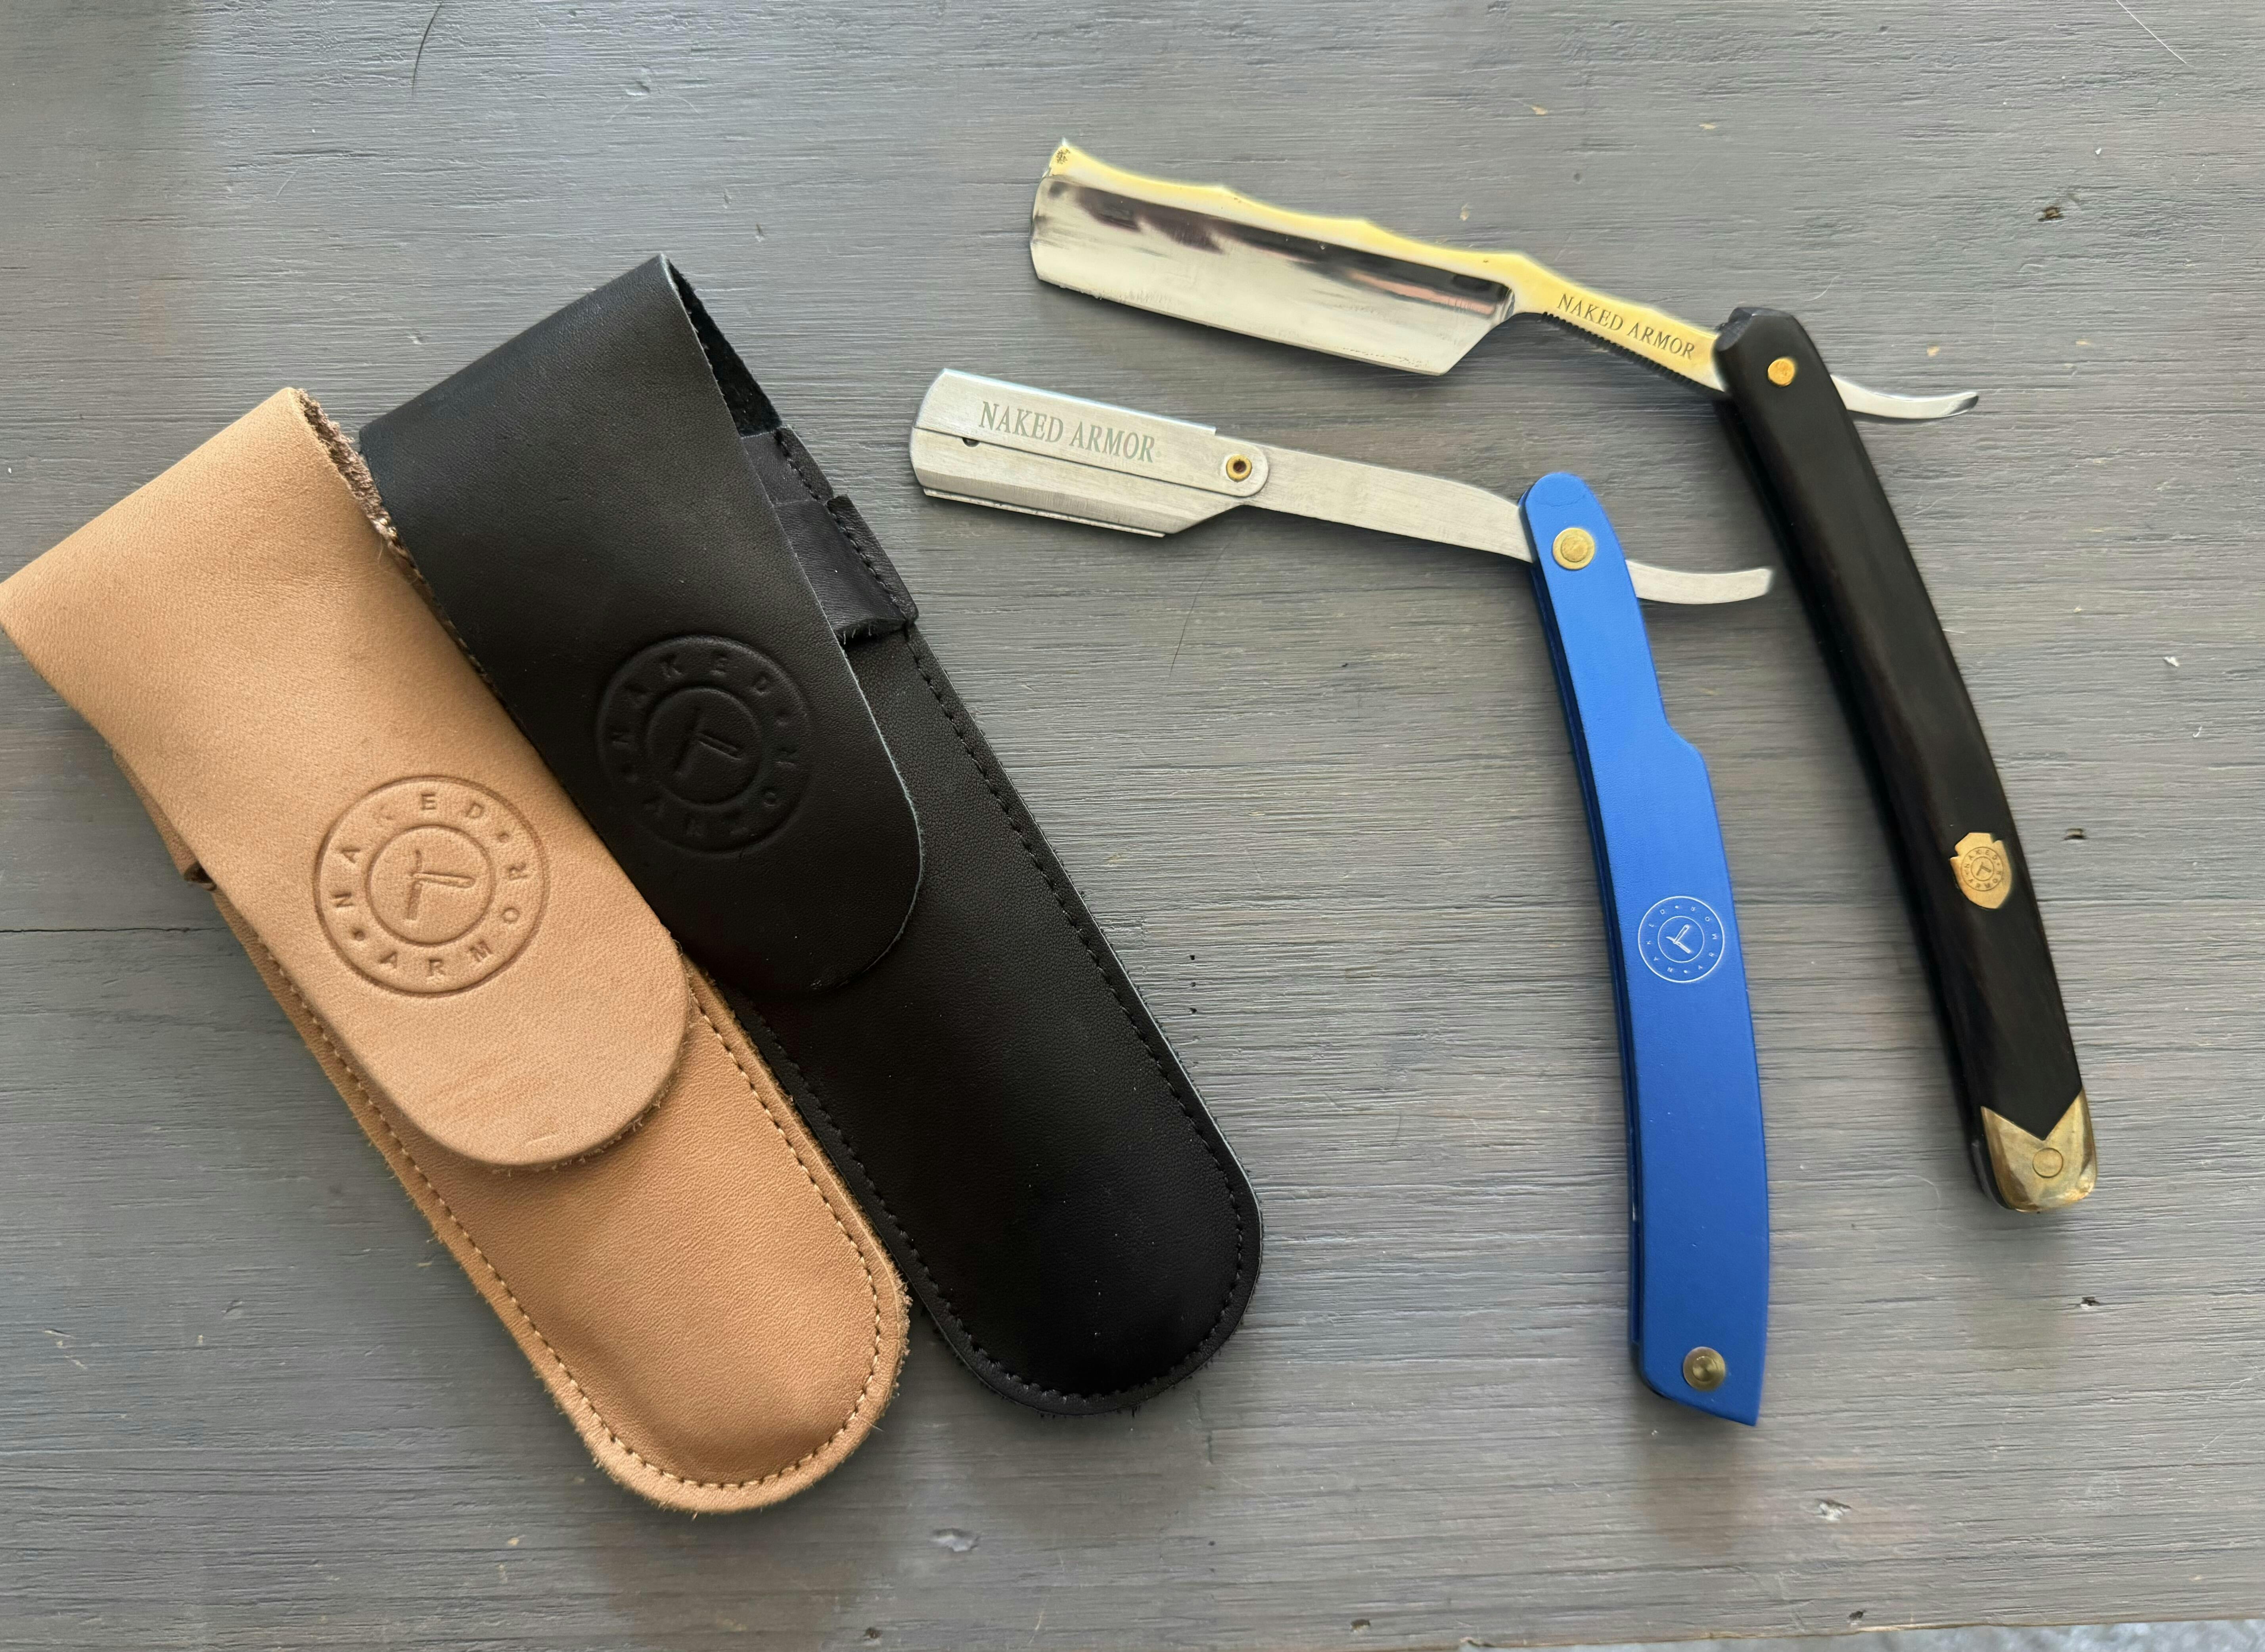
The Ultimate Straight Razor Sharpening Tools
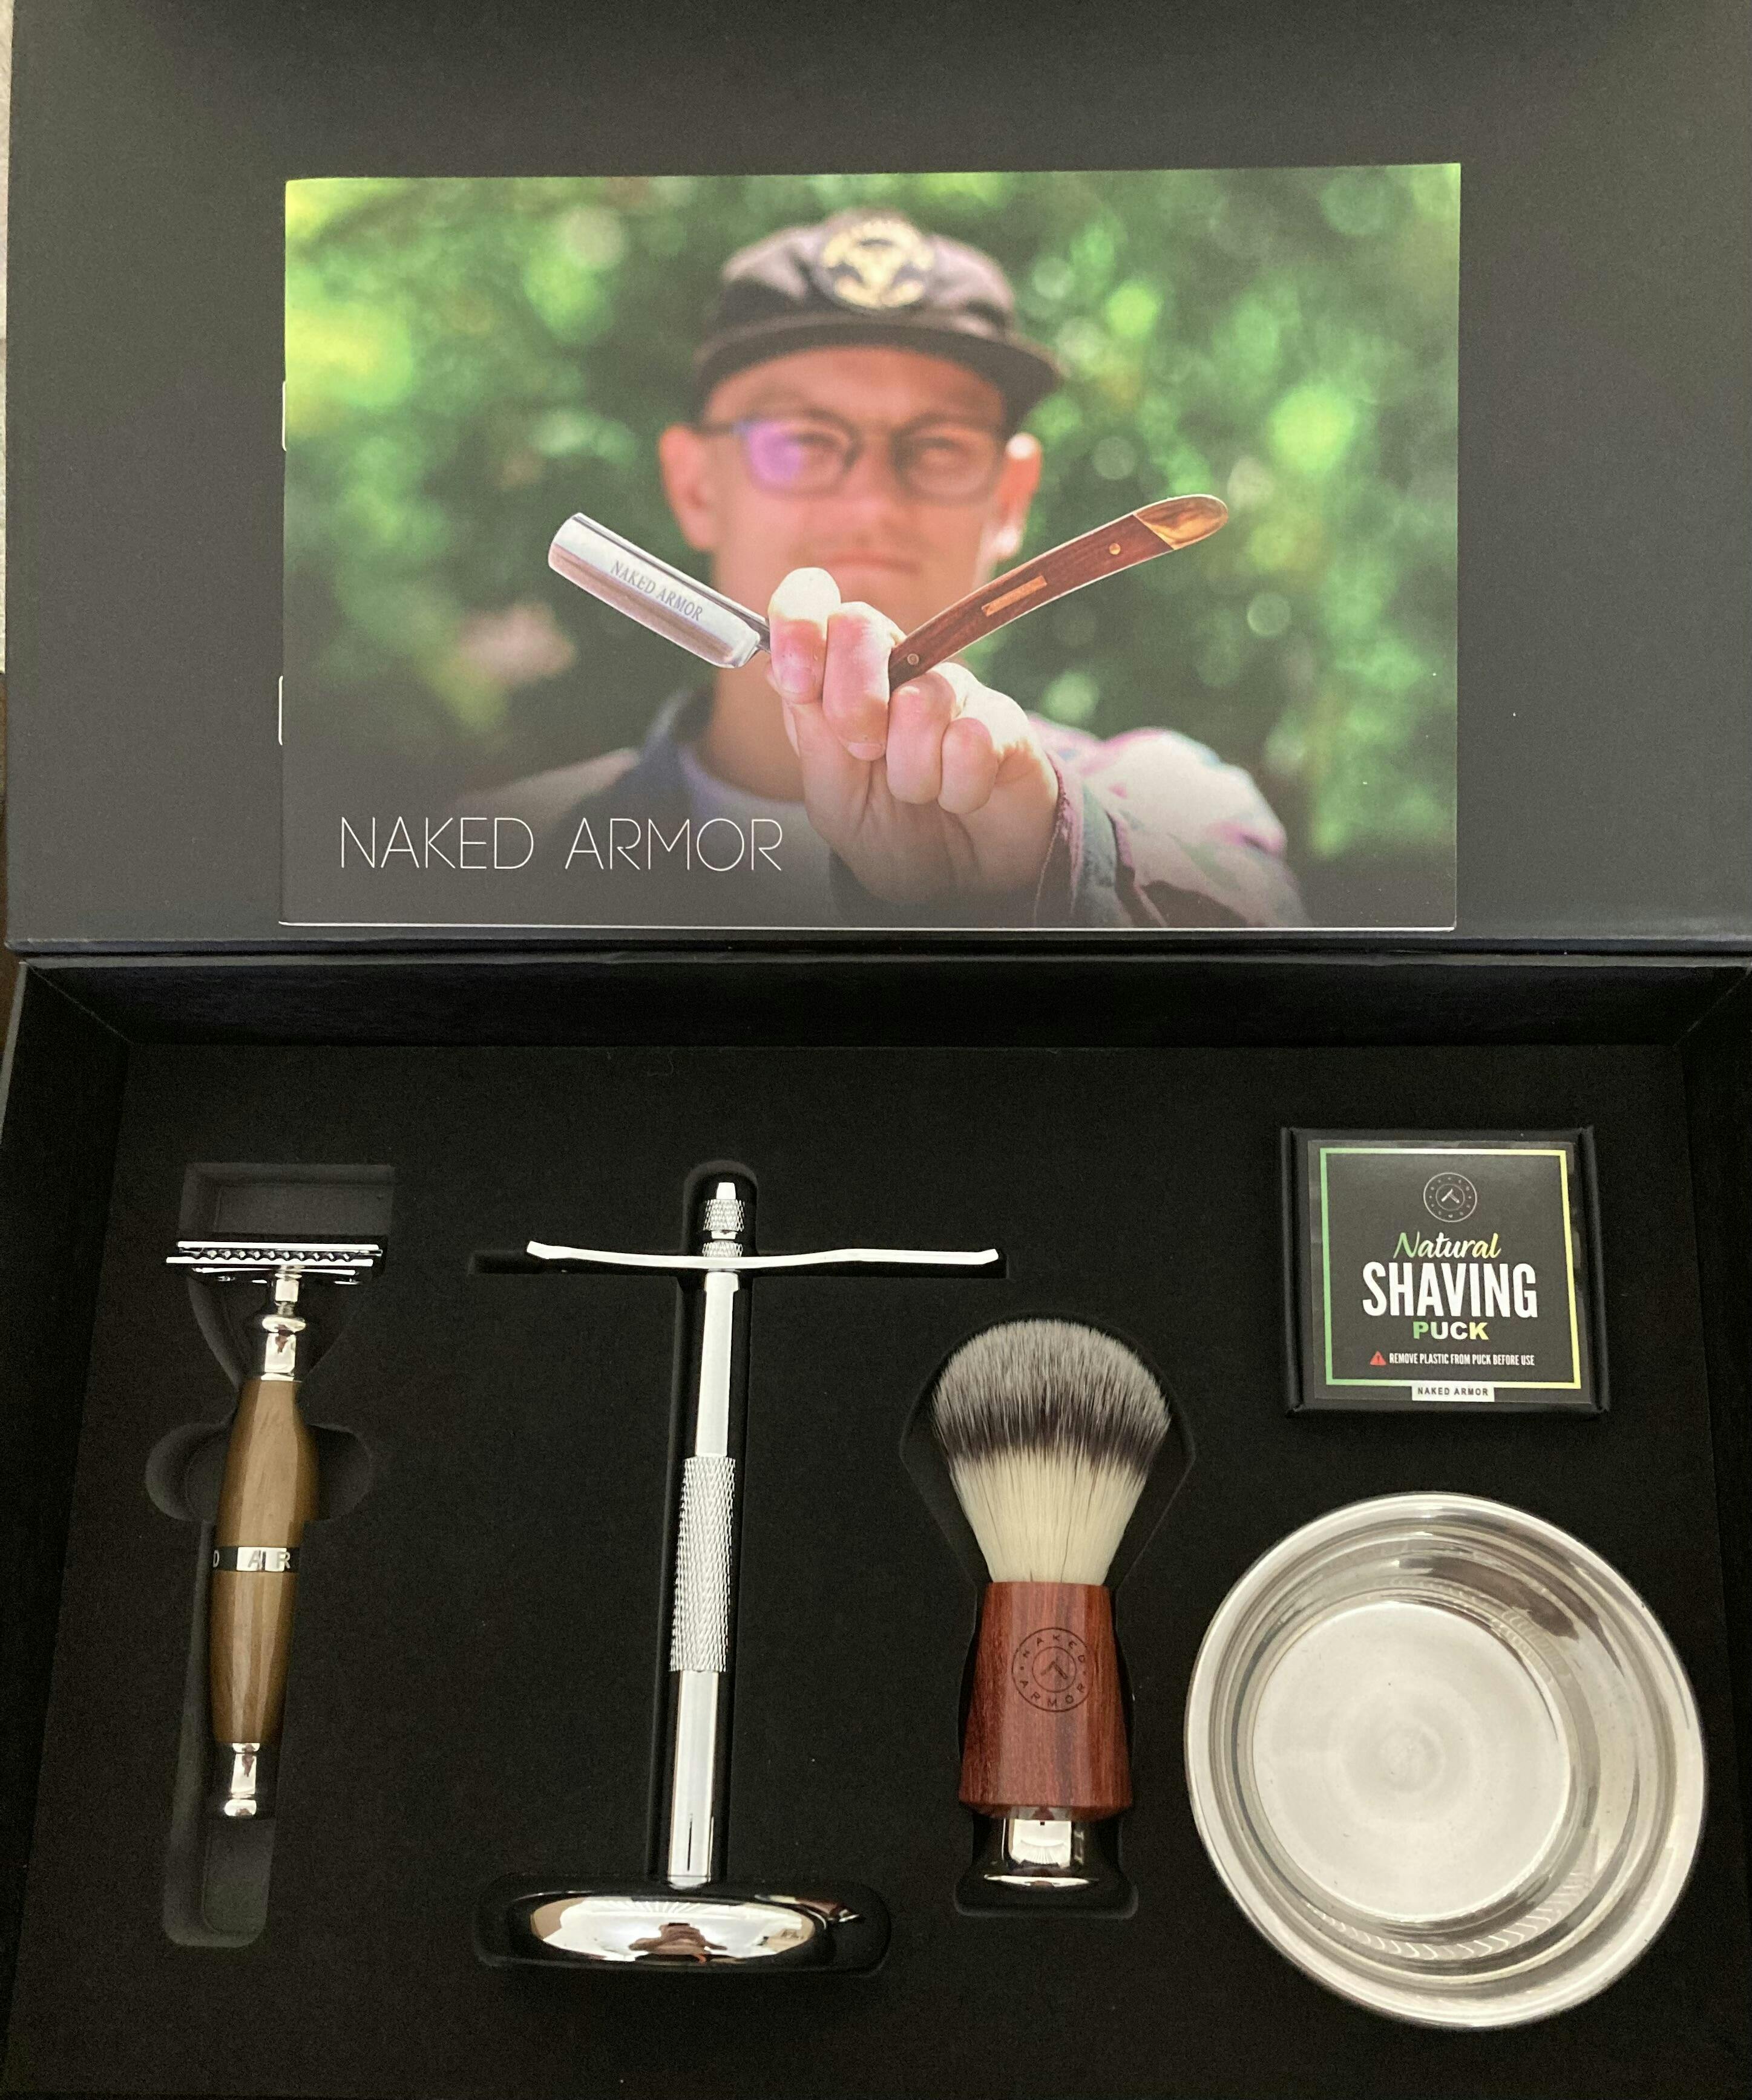
 The Solomon Straight Razor Kit already comes with two ultimate sharpening tools, a leather strop and chromium oxide.
Quality is an essential factor to consider when getting your own straight razor and the tools that go with it. Unfortunately, people often consider buying straight razors a one-time investment by getting only the best product.
The most common mistake most neophyte owners of straight razors is buying only the straight razor. They often opt out of purchasing sharpening tools, overlooking the future of their blades. But as you have read, sharpening is the key to maintaining the quality of your razor. So, if you have yet to get a straight razor, do not forget to add your sharpening tools to your cart.
Naked Armor has everything you need to make it easier—from straight razors to every tool you need in sharpening. Check them out below:
Naked Armor’s Solomon Straight Razor Kit already contains all the items you need to get on with your shaving. With this kit, you also get to ensure that the tools you use to pamper your razor are compatible and the best fit. A straight razor will surely last for life with proper maintenance and care.
Inside you will find:
- Straight razor with a Japanese steel blade and algum wood handle, crafted to give you the best face-to-shave ratio.
- Straight razor strop with elegant leather and fashionable blue canvas put together with a high-quality connectivity brass.
- Quality-constructed shaving brush with sandalwood handle and badger-friendly bristles.
- An organic shaving soap suitable for all skin types.
- Chromium oxide sharpening paste
Everything you need is already curated and enclosed in a handcrafted wooden box. Not to mention, this kit also comes with a leather traveling case for your razor. If the razor is not sharp up to your standards, you can avail of our master honing services.
You need to know how to sharpen your straight razor if you wish to make the best out of your shaving tool. After all, getting a straight razor is an investment, and you would not want to waste your money by wasting away its quality simply because you do not know how to take care of it.
Hence, we recommend that you avail of our straight razor kit for an easier transition to wet shaving. Save more money and be a better environmental friend by ditching your plastic razors. And do not forget to apply these sharpening techniques to guarantee that you will not end up replacing your straight razor as soon as it gets dull.
More Essential Reads:
Best Steel For Straight Razors: Carbon Vs. Stainless Blades
Straight Razor Maintenance
How Often Should You Change Razor Blades
References:
- How Often Should You Change Your Razor Blades To Get The Best Shave? Bolin Webb. https://bolinwebb.com/blogs/journal/how-often-should-you-change-your-razor-blades-to-get-the-best-shave. December 15, 2020
- How sharp should a razor be? Badger & Blade. https://www.badgerandblade.com/forum/threads/how-sharp-should-a-razor-be.408815/
- Understanding Strops. Sharpening Supplies. https://www.sharpeningsupplies.com/Understanding-Strops-W111.aspx
- Ivo Jakubec, Jiří Vondrák, Jana Bludská, The preparation and electrochemical properties of chromium oxides CrOx both in lithium and sodium aprotic electrolytes, Journal of Power Sources, Volume 39, Issue 2, 1992, Pages 133-145, ISSN 0378-7753, https://doi.org/10.1016/0378-7753(92)80132-U (https://www.sciencedirect.com/science/article/pii/037877539280132U)
- Honing Or Using Whetstones To Sharpen Straight Razors. The Invisible Edge UK. https://www.theinvisibleedge.co.uk/content/honing
- Help in choosing stones. Badger & Blade. https://www.badgerandblade.com/forum/threads/help-in-choosing-stones.590321/
- M. Sprecher. What Is Shave Ready? Max Sprecher. https://www.maxsprecher.com/post/what-is-shave-ready. May 28, 2018
- Pressure SR on the strop. Badger & Blade. https://www.badgerandblade.com/forum/threads/pressure-sr-on-the-strop.539431/
- Joe. The Guide To Straight Razor Honing (Part 1). Sharpologist. https://sharpologist.com/ultimate-guide-straight-razor-honing-part-1/. June 1, 2016
- J. Bartlett. How Often Should You Strop, Hone, and Sharpen a Straight Razor? I Mustache You To Shave. https://imustacheyoutoshave.com/how-often-should-you-strop-hone-sharpen-a-straight-razor/. September 30, 2021
- J. Chu. Why shaving dulls even the sharpest of razors. MIT News. https://news.mit.edu/2020/why-shaving-dulls-razors-0806. August 6, 2020


Leave a comment