


How To Hold Straight Razors: Grips, Angle, and Shaving Direction

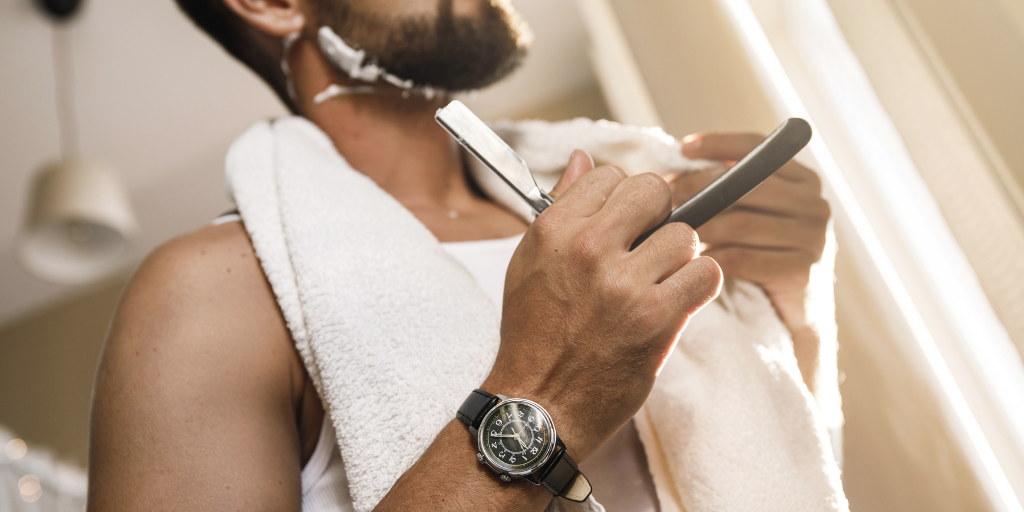
Shaving with a straight razor is now trendier than ever, much to the dismay of Gillette and Schick. After Moneypenny seduced James Bond with a sexy single-edge cutthroat razor,1 many gentlemen kindled an interest in learning how to hold straight razors.
Alas, though, none of us have a Moneypenny to do the shaving for us. So, we have to make do with ourselves. And it’s not as easy as the way Hollywood depicts it in movies.
Shaving using a straight razor requires patience, courage, and practice, which you will learn in this article.
- Straight Razor Shaving Shouldn’t Be Feared
- Different Ways to Hold a Straight Razor
- The Right Angle to Hold a Straight Razor
- How to Shave with a Straight Razor
- Step 1: Prepping the Razor
- Step 2: Moisturize
- Step 3: Creating Lather
- Step 4: Right Shaving Direction
- Post Shave Skin Care
Straight Razor Shaving Shouldn’t Be Feared
 Learning the right way to hold straight razors lessens the risks of cuts and nicks.
The first shave is not always pleasing. Many are intimidated by straight razors, and they think that a cut2 from its blade is as notorious as its cutthroat edge.
But no matter what razor you are using, a few mistakes here and there are inevitable as you get through with learning the basics. There is nothing to be embarrassed about your accidental nicks and cuts as everyone goes through the same learning curve.
Learning how to hold a straight razor properly when you shave will lessen the room for mistakes and bloody accidents. Hence, it is important to familiarize yourself with the proper grip.
Different Ways to Hold a Straight Razor
To gain the confidence needed to master your shaving technique, the first step is to know how to shave with a straight razor. That is only when you will have the best and smoothest experience in achieving a close shave.
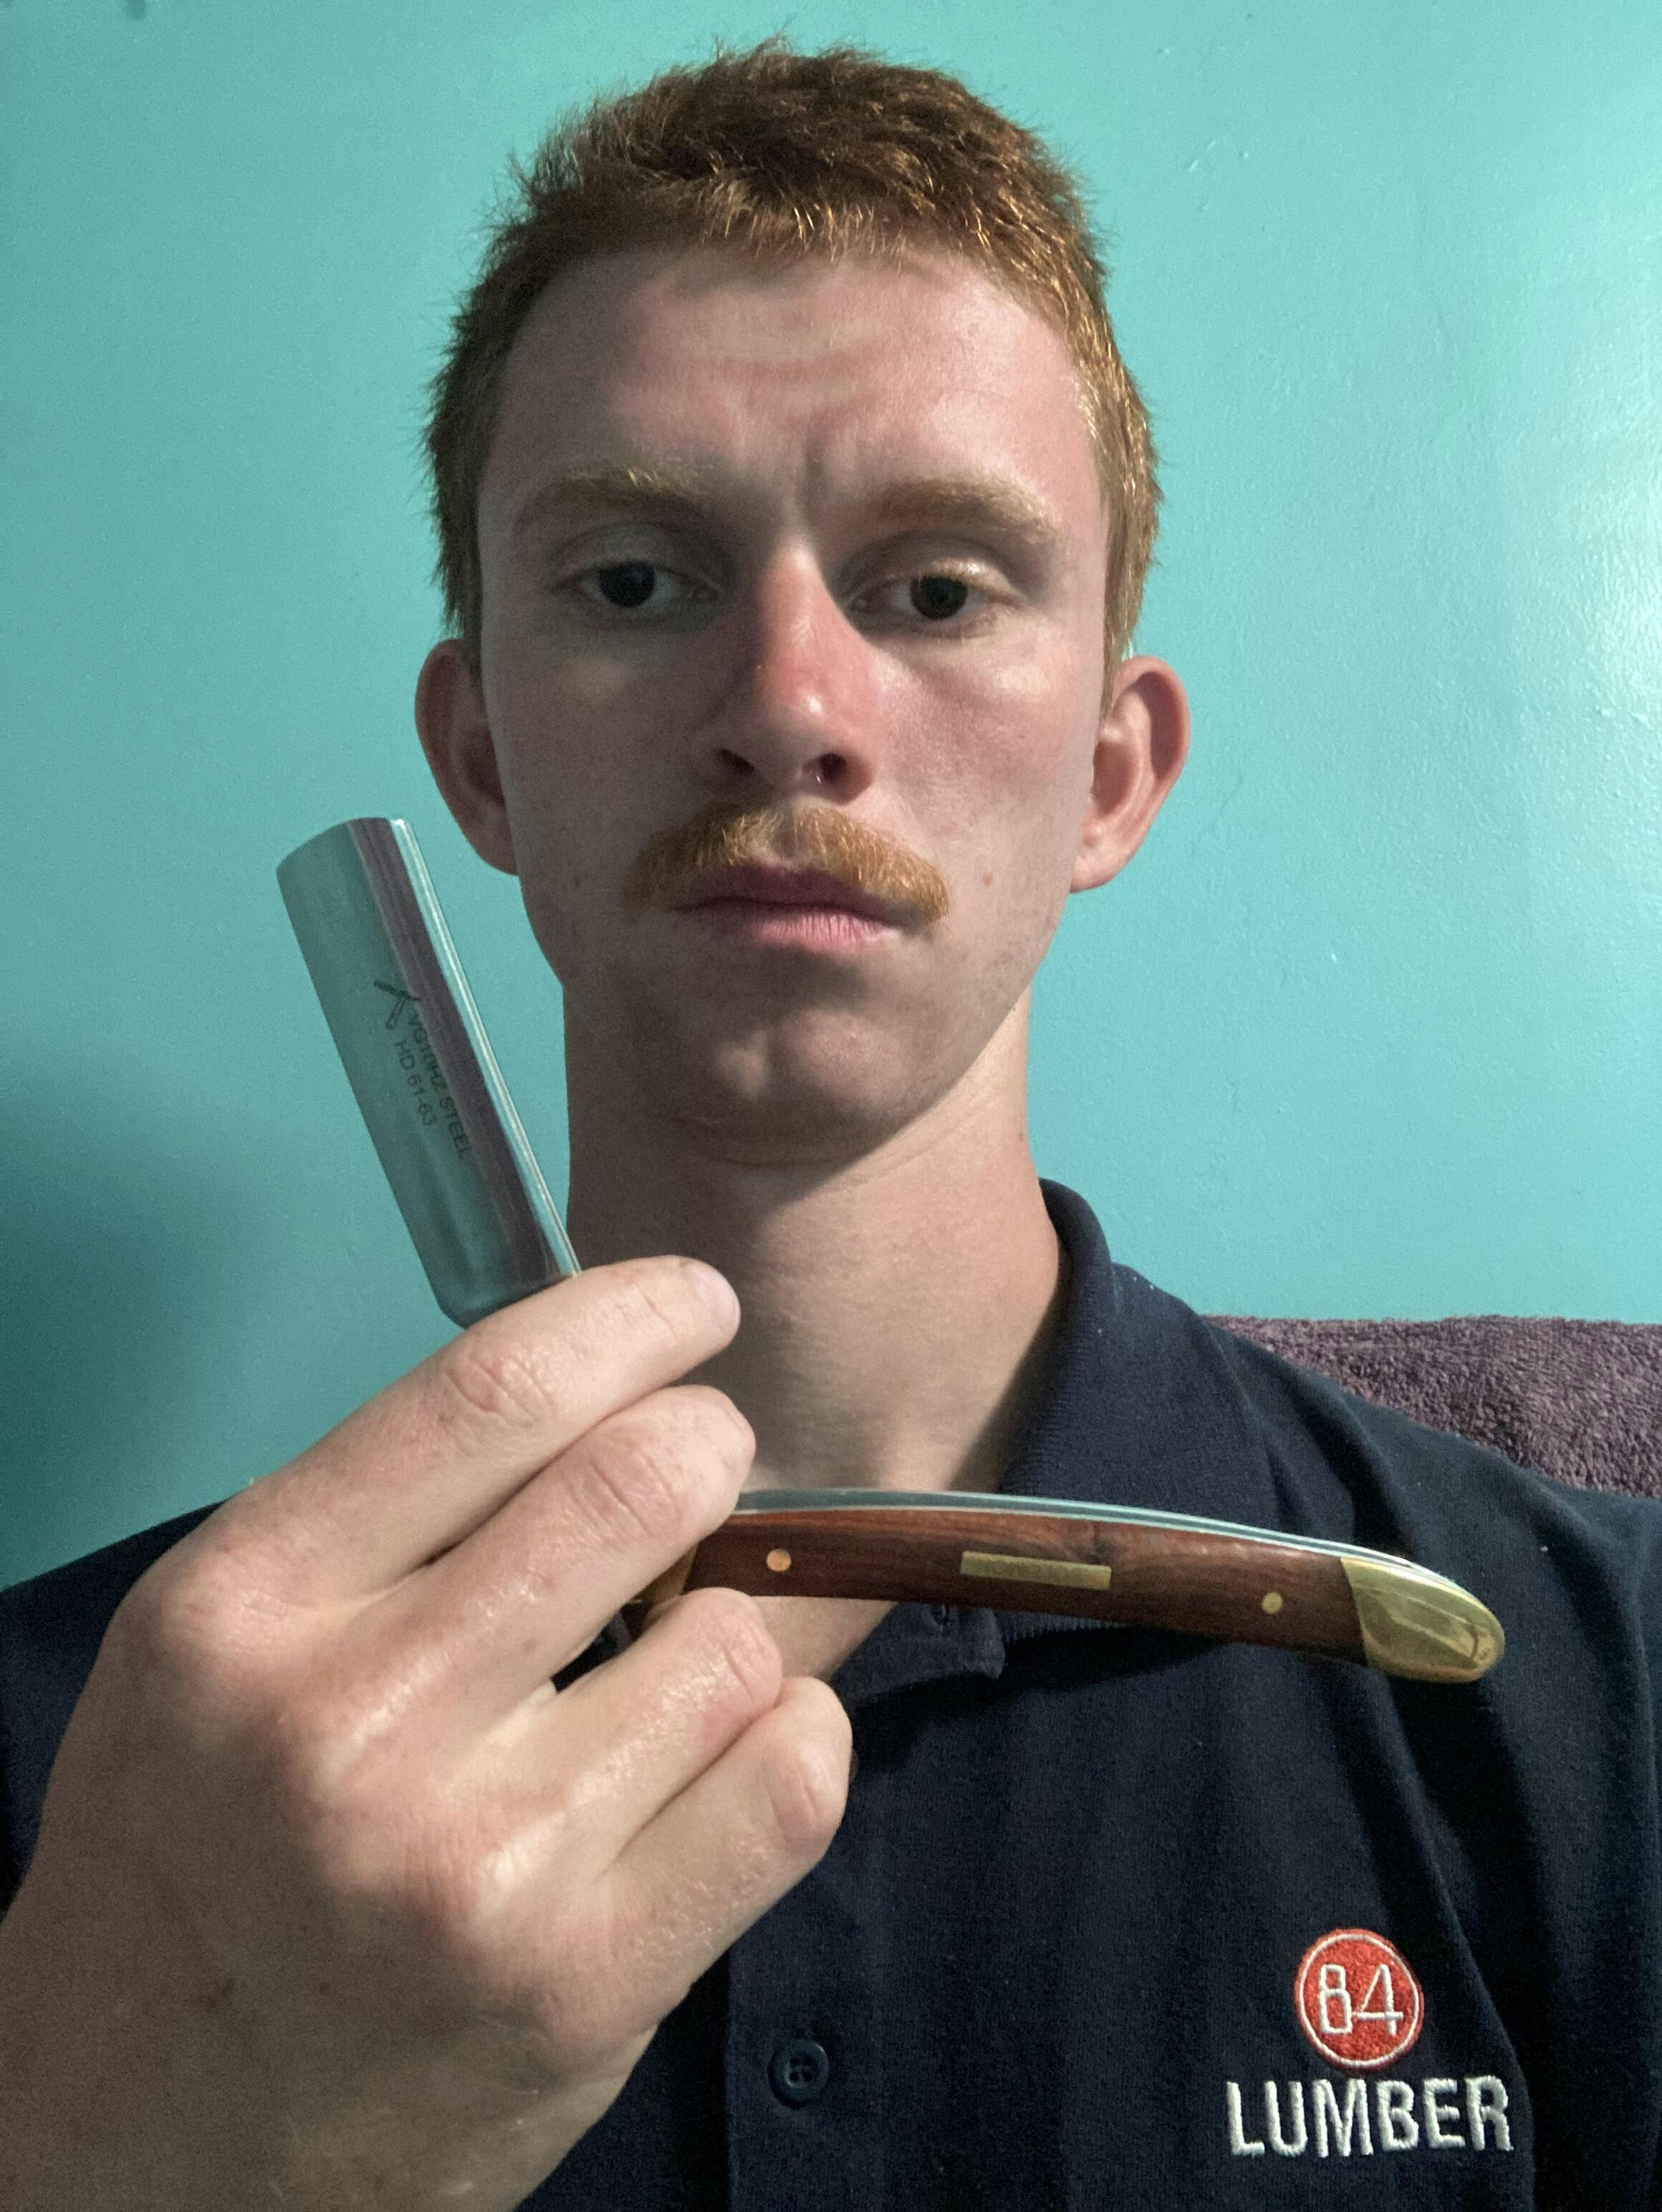
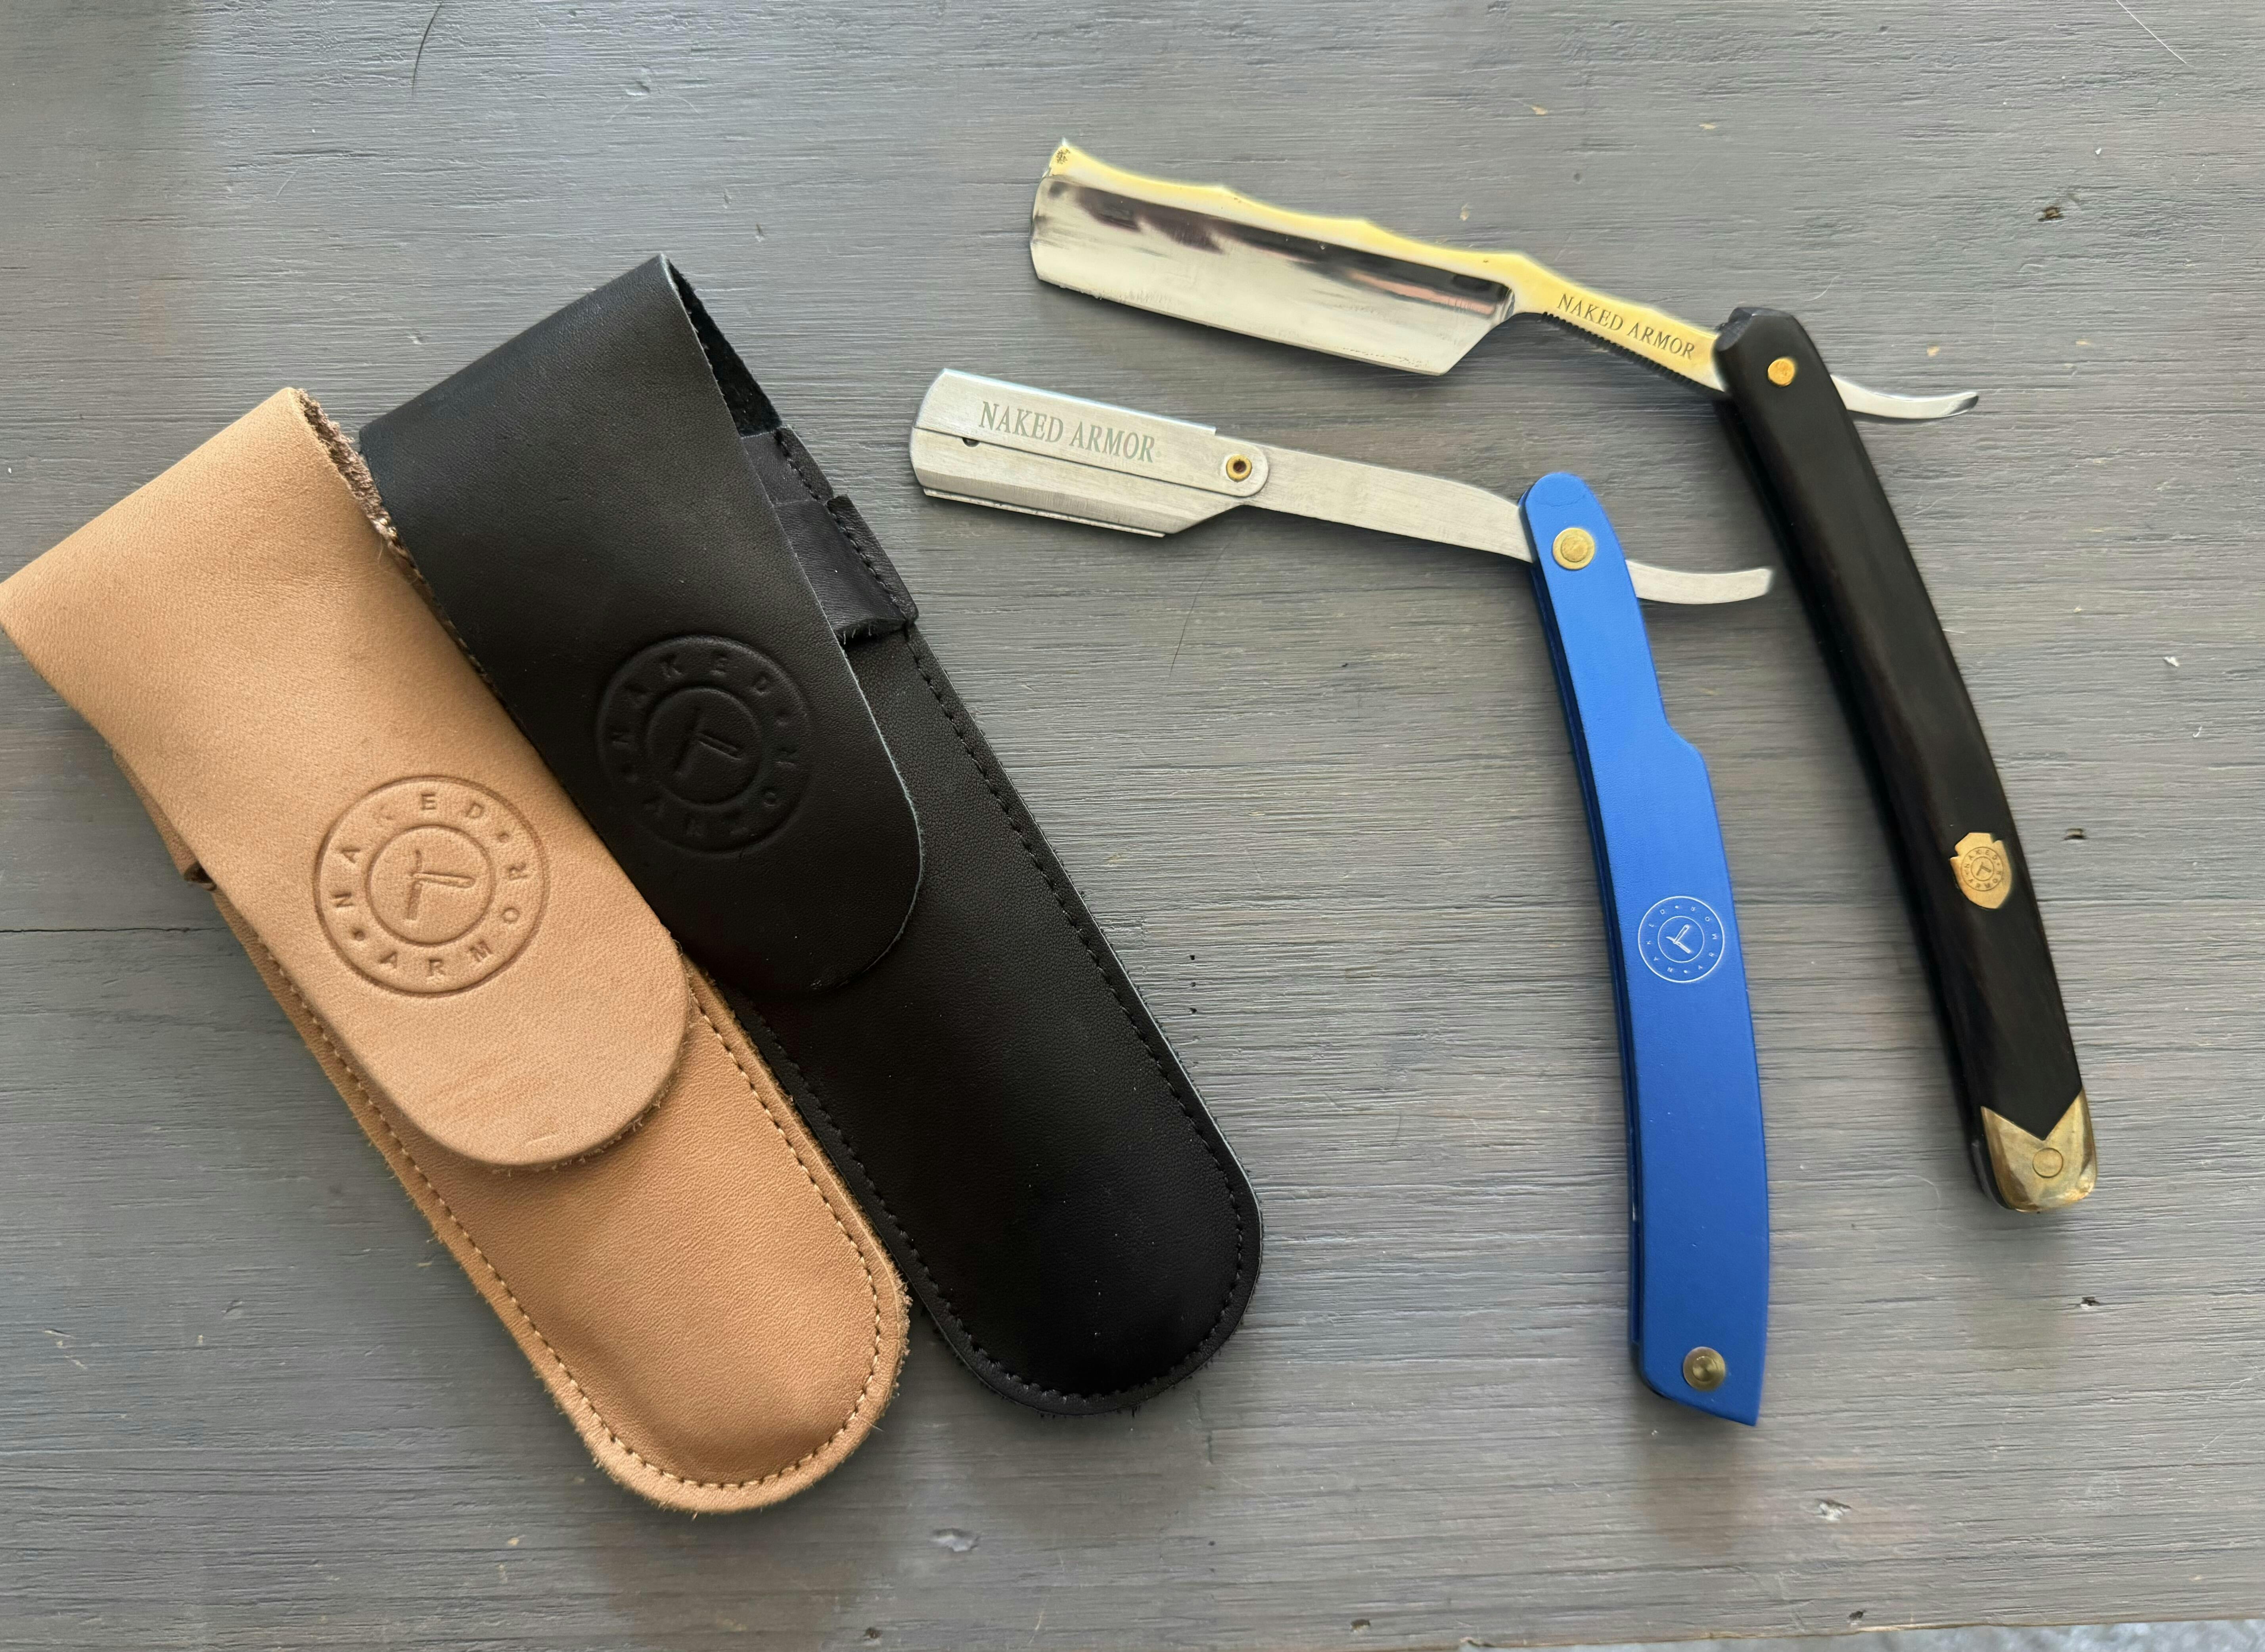
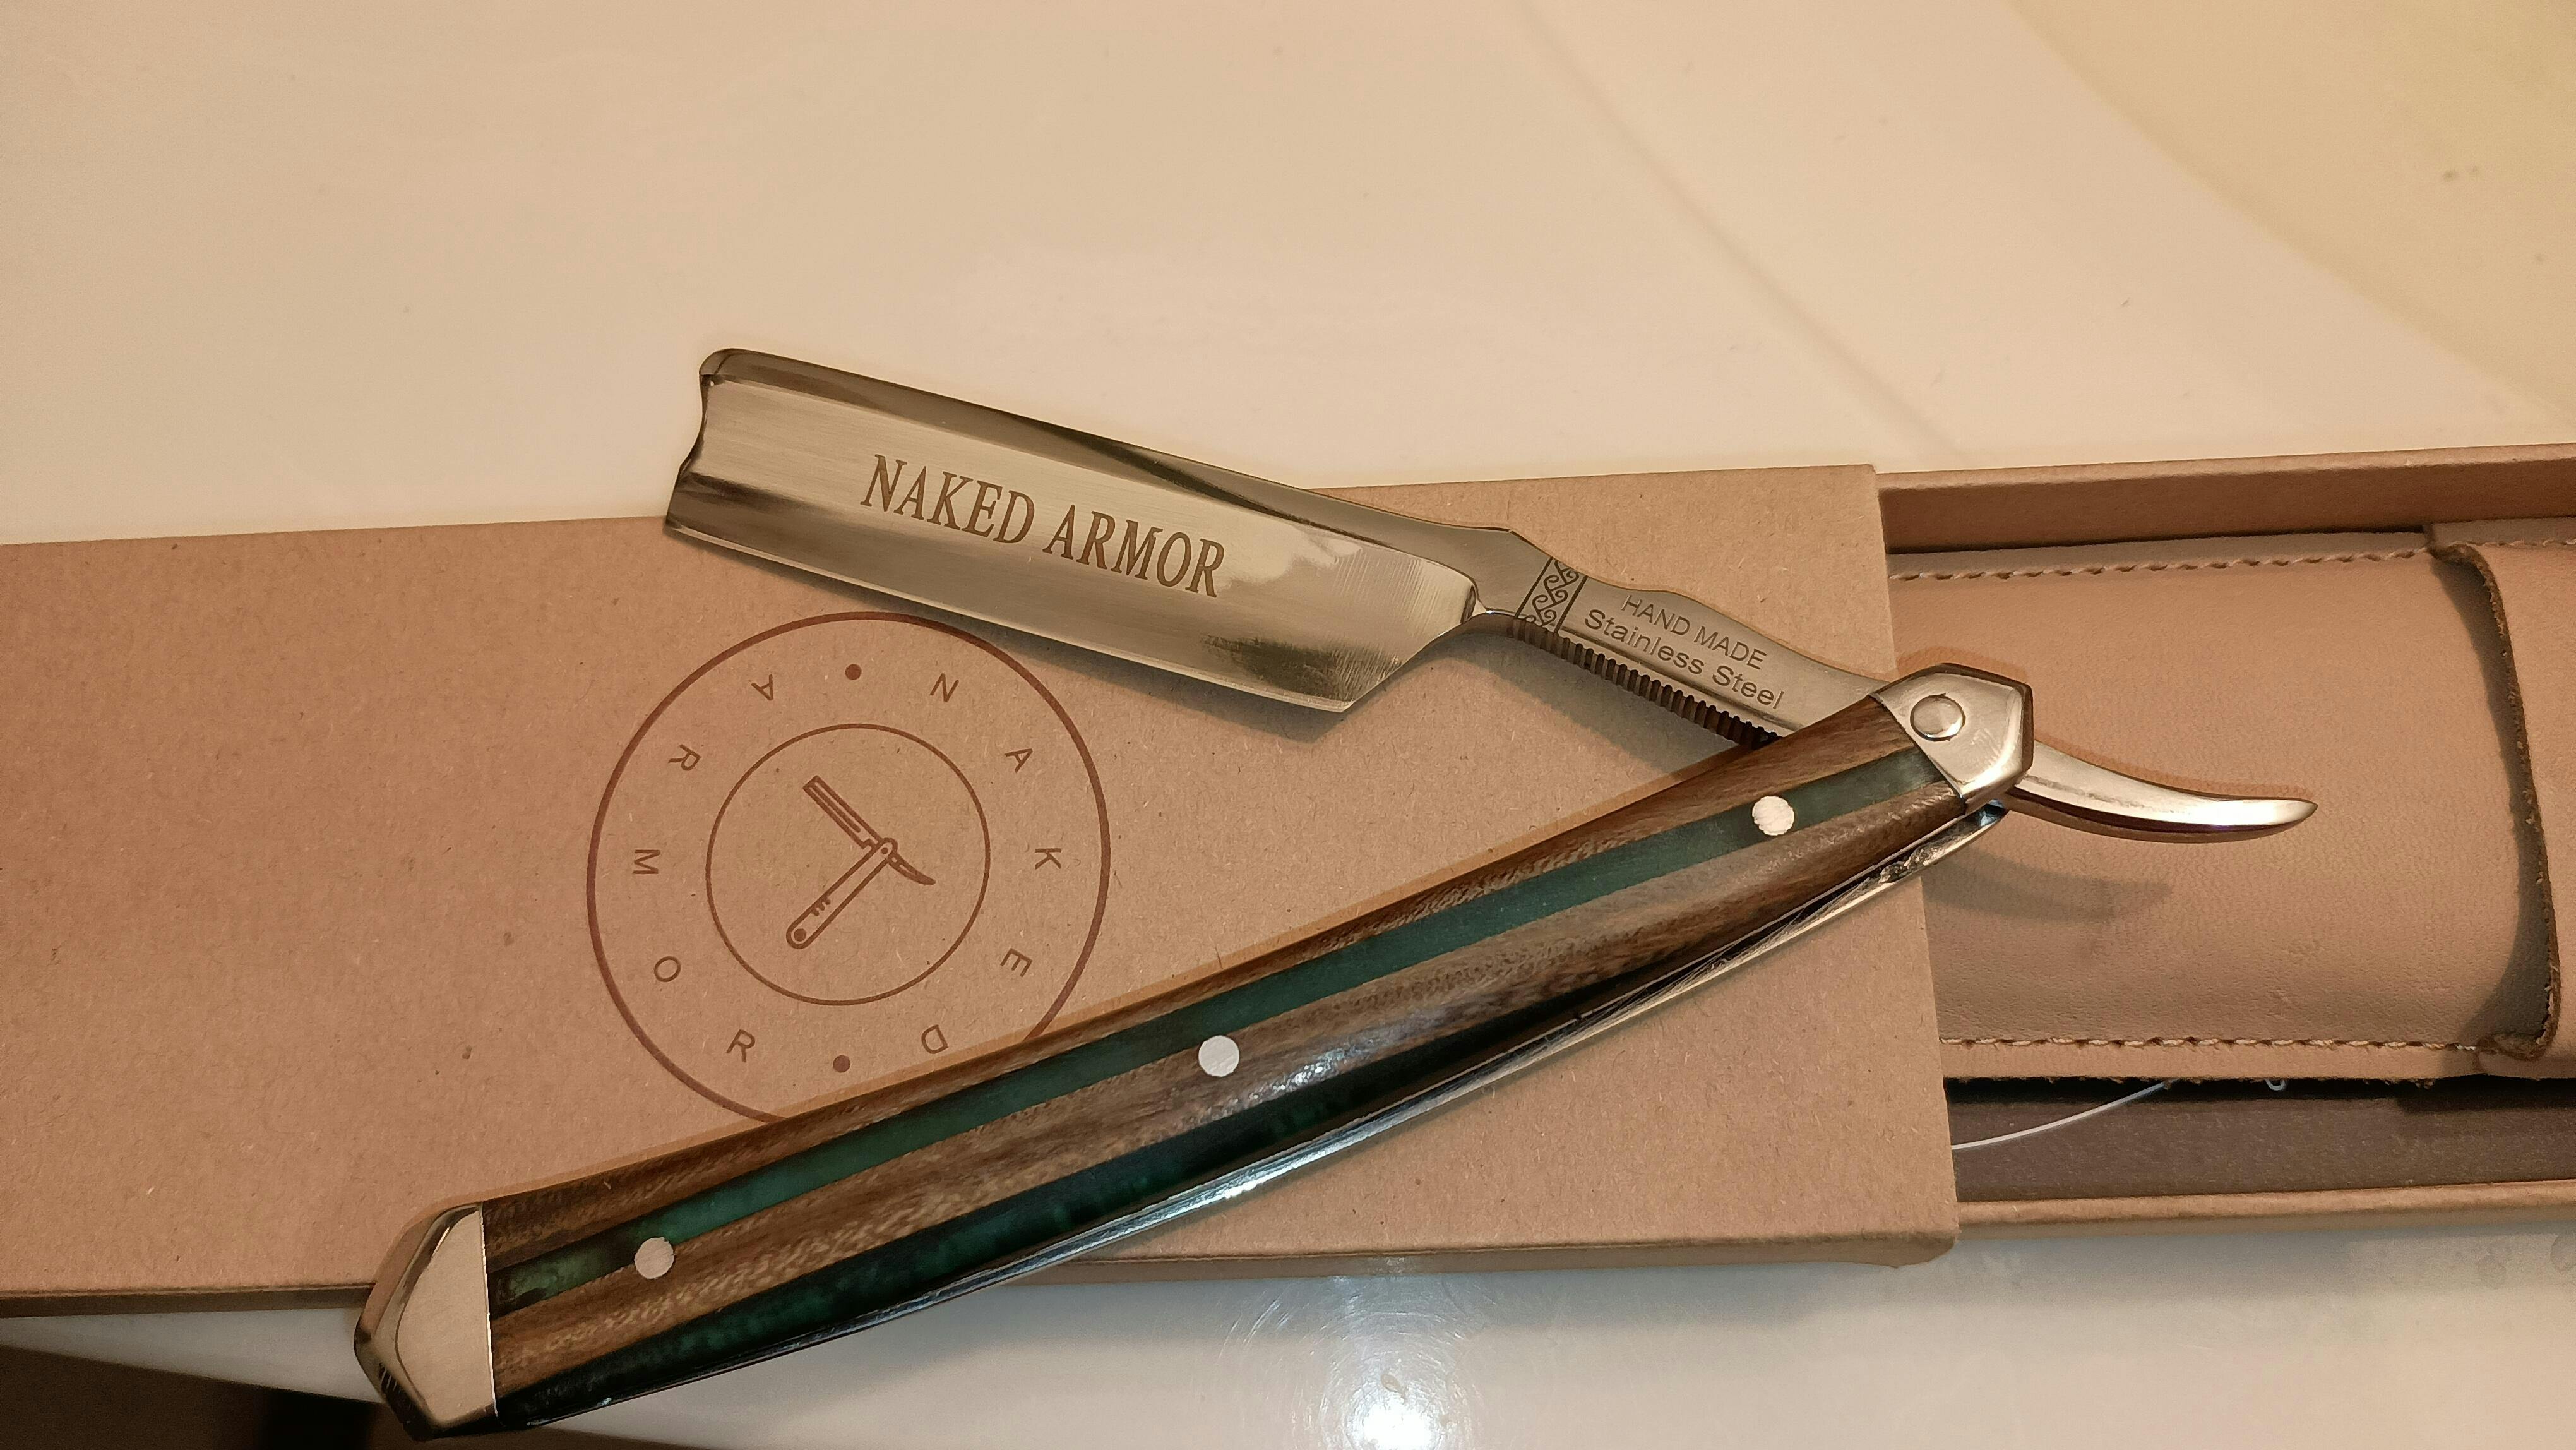
Before anything else, here are the 13 parts of a straight razor for your reference:
 The parts of a straight razor lets you determine the safest place to grip on.
- Pivot pin - connecting peg between the scales and the razor blade
- Scales - official term for a straight razor handle
- Tang - other end of the blade for balancing or stabilizing the finger
- Shank - binding metal section between the blade and the pivot pin
- Jimps - ridges or “fluting” under the shank assisting better grip on the underside of the shank
- Shoulder - end of a straight razor blade or the section between the shank and spine
- Spine - top side of the razor blade
- Point - straight razor blade’s profile or flat end
- Face - blade’s side surface that can be customized with logos, initials, and other decorations
- Toe - the endpoint of the blade’s cutting edge
- Edge - the side of the blade with a sharp cutthroat surface
- Heel - area under the shoulder, connecting the heel and shank, aiming to protect the thumb
- Stabilizer - embossed area between the shoulder and heel
Contrary to what many believe, you should not grip on the scales or handle while shaving because it will impose pressure on the pivot pin, causing it to come loose. Instead, the safest part of a straight razor to hold is the tang and the spine because it has the most stability that prevents the blade from shutting close as you shave.
Familiarizing yourself with the basics of straight razor parts aids in easing your way to conquering the learning curve.
How to Hold a Straight Razor Properly

Straight razor holding positions
Every shaver is unique, and each one is holding straight razors differently. But it all begins with the same basic grip or the simplest and best way to hold a straight razor. Here’s how:
- Use your dominant hand or the hand that you feel most comfortable shaving with when using a straight razor to avoid slipping.
- Place the shank or the straight razor’s handle between your index and middle finger.
- Pinch the scale with your index finger and thumb.
- Curl your ring finger over the tang to keep the pivot pin from moving.
- Rest the tip of your pinky on the underside of the tang for more support.
Practice holding the razor this way before attempting to shave with it.
Types of Straight Razor Grips
Once you’ve gotten more comfortable with your hold, you can now start wet shaving.
The most effective way to approach straight razor shaving is to hold the razor with little pressure. It should not be too tight but instead, impose a comfortable grip similar to a firm handshake. Make sure to stabilize your wrist straight and avoid sudden or unnecessary movements to achieve precision.
With that, the different ways to grip a straight razor3 is as follows:

- The Baseline
The simplest way to hold a straight razor is by using the baseline grip, wherein the blade’s edge is pointing downwards to create at least a 270-degree angle from the scale.
Place the scale between your middle and ring finger, and grip the shank with your pointer and middle finger while your thumb provides support on the jimp. Then, prevent the razor from closing shut by balancing the straight razor’s tail or tang with your little finger.
The baseline is the most basic straight razor grip, ideal for beginners. It imposes a balanced pressure between the shank and scales for maximum precision.
- Pinch
Instead of supporting the blade with your thumb on the jimp, place it with the pointer finger on the sides of the tang to pinch the blade. While doing so, keep the angle between the blade and handle at the same angle using the baseline technique but with the edge facing upwards.
This mechanism is best for upward strokes or shaving against the grain.
- Blade-forward (Push Grip)
Once you have gotten familiar with the basic grips, it is time to upgrade your technique to the push grip. It is the most popular way to hold straight razors that professional barbers and expert shavers use.
The push grip has the blade pointing forward at a 180-degree angle from the straight razor’s handle. Your thumb should be on the shank with the pointer finger at the bottom of the shank near the blade. Meanwhile, stabilize your grip with your other fingers on the handle. The key is to keep the blade far away from the shaver, allowing for more comfortable positions as you shave with the grain.
Remember that these are just the basic ways to grip a straight razor. It is an introduction for you to find your own technique.
As you progress in your shaving journey, you will get to know what is the most comfortable way to hold your razor, and that should always be the proper way for you—just don’t hold the razor similar to how you would a pencil because it will strain your grip on the razor.
The Right Angle to Hold a Straight Razor
 Holding the straight razor at a 30-degree angle account for the ideal balance between an aggressive or smooth shave.
Shaving with a cartridge razor is simple, wherein you place the razor perpendicular to the skin and shave as you please. But things are not as simple when shaving with a straight razor.
Aside from learning how to hold straight razors, you also need to know the right blade-to-skin angle. Doing so ensures that the edge lies perfectly on the skin, so it cuts your facial hair efficiently to get a close shave.
So, what angle do you hold a straight razor? Here’s how:
- Place the razor on the area of the face to be shaved. You can dip the blade in water first or use it dry; it’s all a matter of personal preference. Most people, however, like it dry.
- Don’t apply pressure on the blade as it will only pull the hair, making the whole shaving experience uncomfortable.
- Never hold the blade at a slicing angle like a knife since you will risk cutting your skin.
- Hold the razor at a 30-degree angle against the cheek.4 The 30-degree angle is the best if you are aiming for a perfect balance between an aggressive or smooth shave.
A straight razor’s aggressiveness is equal to the amount of the blade’s edge exposed to the skin and beard or, conversely, the amount of skin and beard that are not protected from the blade by the razor's safety features.5
If the razor blade is more perpendicular to the face, it gets more aggressive, better for shaving coarse and thick beards. But if you lower the angle of the blade, you get a smoother shave. On that note, remember the risk of getting cuts and nicks increases along with the level of the shave’s aggressiveness.
Do note that you need to mind your facial hair’s growth direction to determine the right angle to shave with personally.
How to Shave with a Straight Razor
Wet shaving is a whole grooming routine itself. We’ll go through the steps clearly to provide the reader with all the vital information to avoid the common mistakes committed by newbies everywhere when shaving with a straight razor.
Step 1: Prepping the Razor
There are different kinds of razors, disposable and non-disposable. Like a safety razor or a shavette, a disposable razor uses replaceable blades.
For non-disposable razors, like straight razors—the type Moneypenny used on Bond—prepping is done first by honing and stropping the blade.
- Honing
Honing a straight razor blade requires using a whetstone or a grinding wheel wherein the blade’s cutting edge is placed at a 30-degree angle perpendicular to the stone or wheel’s surface. The blade is then stroked 10-12 times to and fro, in an X pattern.
- Stropping
The next step is to strop the blade. Stropping is done by polishing the blade’s edge to give it a smooth mirror finish and wiping away the remaining metal bits after honing.
Between honing and stropping, the one you need to do every time before shaving is stropping. It smooths out any fine chips on the blade’s edge, making your straight razor shave-ready all the time. Meanwhile, honing should be done at least every three months for regular use or earlier if there is major damage on your straight razor’s blade.
Naked Armor offers professional honing services for free if your newly-bought razor from is not shave-ready to your preference (only applicable within the first 30 days of purchase). Read about it in our Honing Guide.
Step 2: Moisturize
Aside from the blade, a good shave starts with well-prepped skin.
Have you ever seen a professional barber in action? Notice how they will start with pampering their client’s face before gliding the single-edge blade on their skin. That’s why going to the barbershop is a gentleman’s version of an R&R or spa day.
Getting a barber’s shave at home is easy. All you have to do is begin your shaving routine with a hot shower or by putting a hot towel over your face to soften the hair and open the skin pores. Apply pre-shave oil, and then create your lather by blooming your shave soap.
Blooming is a technical term for softening the soap to draw out the ingredients of the soap and not only from the soap’s surface.6 You can do this by sprinkling drops of warm water on the soap’s surface and swirling your brush after.
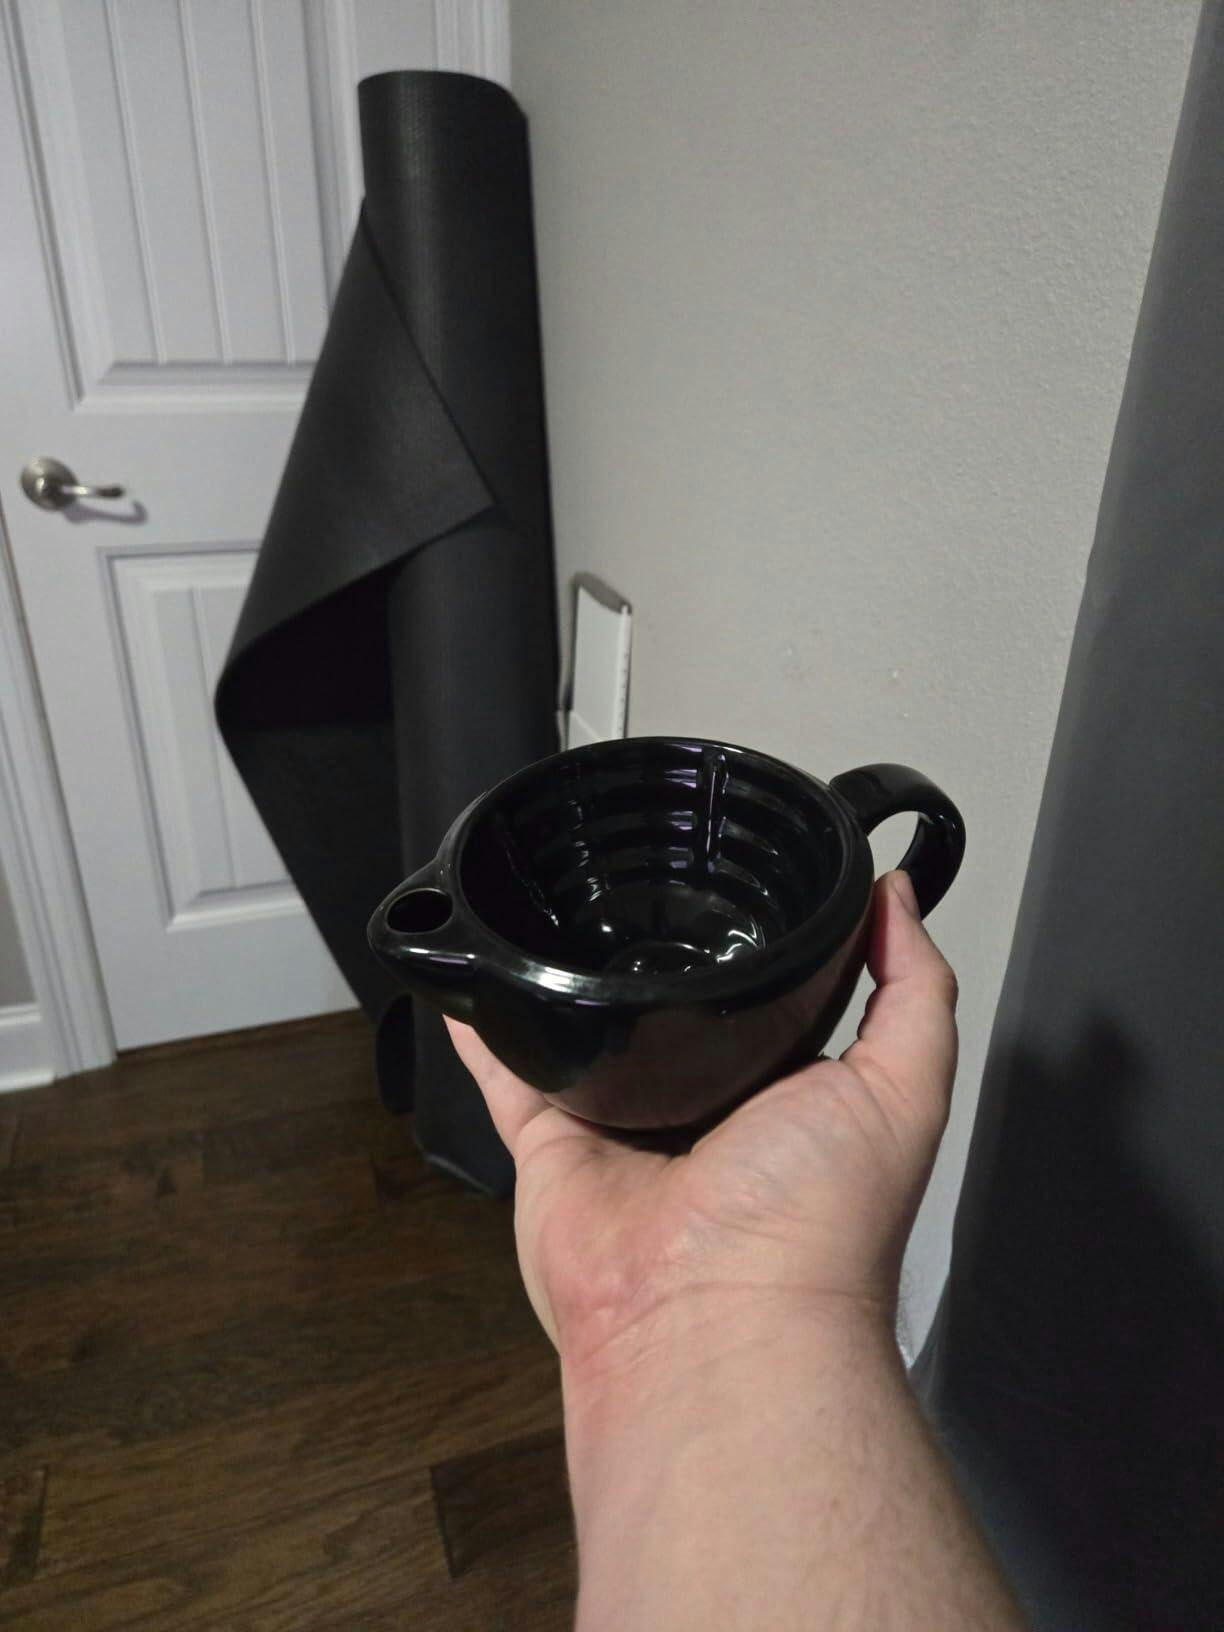
Step 3: Creating the Lather
Once your shave soap is ready, it’s time to whip up the lather. Use a scuttle bowl and a shaving brush to do this.
Lather the soap using a scuttle bowl or your hand. Always remember to use the back of the non-shaving or free hand as it is more convenient and easy for lathering.
It is better to invest in a shaving scuttle and brush, especially if you want a thick and warm lather. With that, here’s how to lather shaving soap using a scuttle:
- Fill the inner chamber with hot water, approximately 70°F (21°C) or whatever that doesn’t burn your skin to the touch.
- Seal the inner chamber with its cork to keep the water warm.
- Put the bloomed shave soap on the bowl and add a little water.
- Whisk the surface of the soap using a shaving brush in circular motions with little pressure
- Continue whisking until the lather forms stiff peaks
You can read our guide on How To Lather Shave Soap for a more extensive guide. And if you do not have any shaving soap, you can always create your lather using shaving cream.
Once the lather is prepared, you are now ready to apply it to your face.
Step 4: Right Shaving Direction
One’s shaving direction is always debated among wet shaving communities. Here are some guidelines to follow if you are yet to find what works best for you:

Shave in your hair's growth direction on your first pass to minimize skin irritations.
-
Shaving against or with the grain?
To get a close shave, it is advisable to always shave in short, gentle strokes with the grain or by following the hair’s growth direction on your first pass.7 Then, shave against the grain or follow the opposite of the hair’s growth direction on your second pass.
Following the direction of your hair growth on your first stroke calls for less friction and stress on the skin and hair. Therefore, you get less razor burn, bumps, and ingrown, which is important, especially when shaving on sensitive skin.
-
Which side of your face should you start shaving with?
Start shaving your right side if you are right-handed and on the left side if you are left-handed. The picture below shows a shaving map with directions that you can refer to. Use the map to plan your stroke’s movement.

Visualize a shaving route to help you know which direction to go to while shaving.
Always start from the sideburns while moving slowly towards the jawline. And do not forget to wipe your blade clean after every stroke to avoid lather and hairs accumulating on the edge.
A towel is preferable because it absorbs extra moisture that would otherwise cause the lather to wash off the blade. If you need to wipe off the extra soap from your face, use your non-dominant hand.
After finishing one side, go to the opposite side while holding the blade with your non-dominant hand. Yes, use it to shave the opposite side of your face. It feels uncomfortable at first, but you will get used to it as you progress.
If you lose track of the grain, you can always refer to the map for reference.
Post-Shave Skin Care
 Applying an aftershave product refreshes and replenishes your post-shave skin.
All your hard work in learning the proper way of holding straight razors is worthless if you do not take care of your skin after shaving.
Your shaving routine should not end once you’ve cleared all your facial hair. Instead, finish your process with post-shave skincare, like an afteshave or any natural toner with astringents, to prevent your skin from getting dry. It also disinfects any open nicks.
Here is how to apply aftershave properly:
- Rinse your face thoroughly with cold water to remove the lather and any hairs stuck on the face. Cold water is advisable since it closes skin pores, reducing the risks of irritation.
- Apply an aftershave of your choice to moisture the skin and let your skin absorb it for a minute or two.
- Top it off by applying the alum to lock the moisture in the skin.
Aftershave is crucial to prevent razor burn, bumps, ingrown, and other post-shave skin irritations, especially when you shave every day. Partner that with a top of the line and beginner-friendly straight razor from Naked Armor, which you can shop below:
More Naked Armor Reads:
Types Of Straight Razors: Different Points
Beard Oil Vs. Balm: The Final Verdict From The Bearded Community
Shaved Curly Hair: 10 Best Shaving Tips
References:
- Skyfall. Moneypenny’s Close Shave. James Bond 007. 2020. https://www.007.com/bond-and-moneypennys-close-shave/
- Coffee Addict. How dangerous is a straight?. Badger & Blade. 2011. ://www.badgerandblade.com/forum/threads/how-dangerous-is-a-straight.190537/
- Hunter. How To Grip A Straight Razor. Portland Razor Co. July 3, 2019. https://www.portlandrazorco.com/blog/2019/7/3/how-to-grip-your-straight-razor
- T. Yanchun, K. Hall. How To Hold A Straight Razor. Wiki How. March 12, 2022. https://www.wikihow.com/Hold-a-Straight-Razor
- Double-Edged Safety Razors Ranked by Aggressiveness. Badger & Blade. http://www.badgerandblade.com/forum/wiki/Double-Edged_Safety_Razors_Ranked_by_Aggressiveness
- A. Williams. How To Lather Shaving Cream: A Step-By-Step Picture Guide. Tools Of Men. February 12, 2022. http://www.toolsofmen.com/how-to-use-shaving-soap/
- Why you shouldn’t shave against the grain?. Bearded Colonel UK. https://beardedcolonel.co.uk/blog/why-shouldnt-you-shave-against-the-grain/#:~:text=The%20only%20way%20to%20guarantee,bumps%2C%20or%20even%20razor%20burn.


Hi Paul! Happy to hear that a straight razor works for you. We also have beard grooming tips that can help you grow out or maintain your beard.
My face is so perfect and I am looking for the real deal of a beard
Leave a comment